Easy DIY on How to Painting Basement Ceiling Black
In many homes, the basement is an often neglected area that is mostly used for storage or as a washing room. However, with a little imagination and DIY(Do It Yourself) projects, you can make your basement into a usable and aesthetically pleasing living area. Painting the open basement ceiling black is one approach to making this makeover.
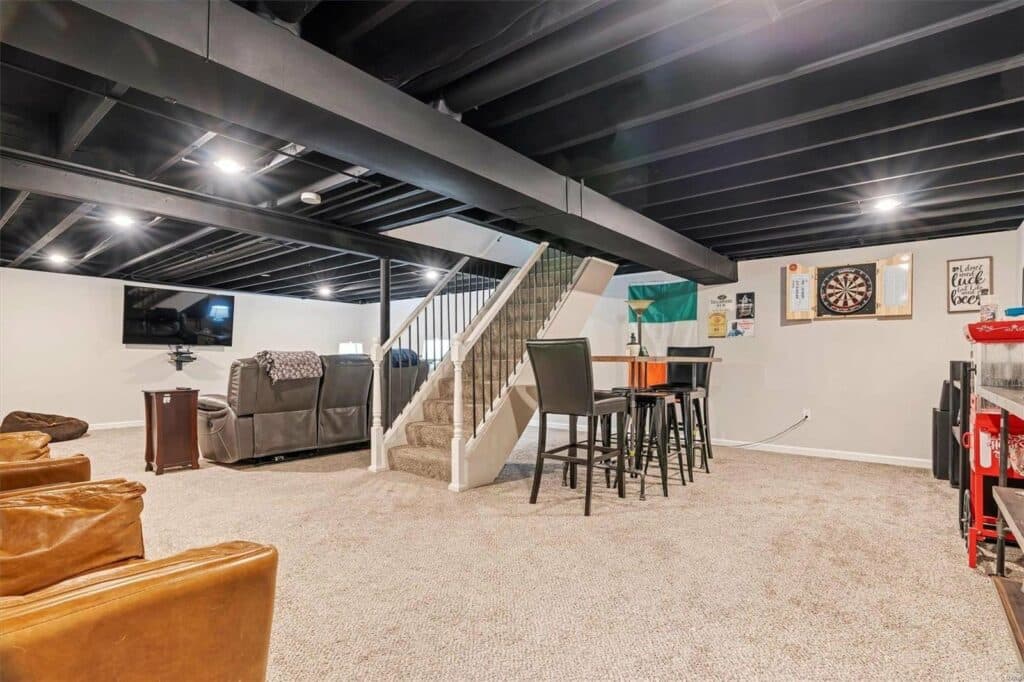
This easy-to-complete DIY project may add a touch of class, provide the illusion of height, and cover up ugly ducting and pipes. Giving your area a sleek, industrial air by painting the basement ceiling black is a terrific idea. If you have smaller basements, painting the ceiling black might also serve to give the ceiling the appearance of being taller.
With the help of this article, you can transform your basement into a stylish and welcoming space by learning how to paint an open basement ceiling black.
DIY Steps to Paint an Exposed Basement Ceiling Black
Step 1. Preparation

- As much as possible, clear out the basement. Remove anything that stands in the way of the painting process, including furniture, decorations, and other objects.
- To prevent paint spills and drips, cover the floor with drop clothes or plastic sheets. It would help in protecting the floor from splashes of paint. As a safety measure, cover the side walls too.
- Cover off the ceiling’s edge with tape. The painted ceiling and the walls will have a cleaner edge thanks to the tapping off.
Gather your resources. The following are the things that you will be requiring –
Step 2. Cleaning and Repairing
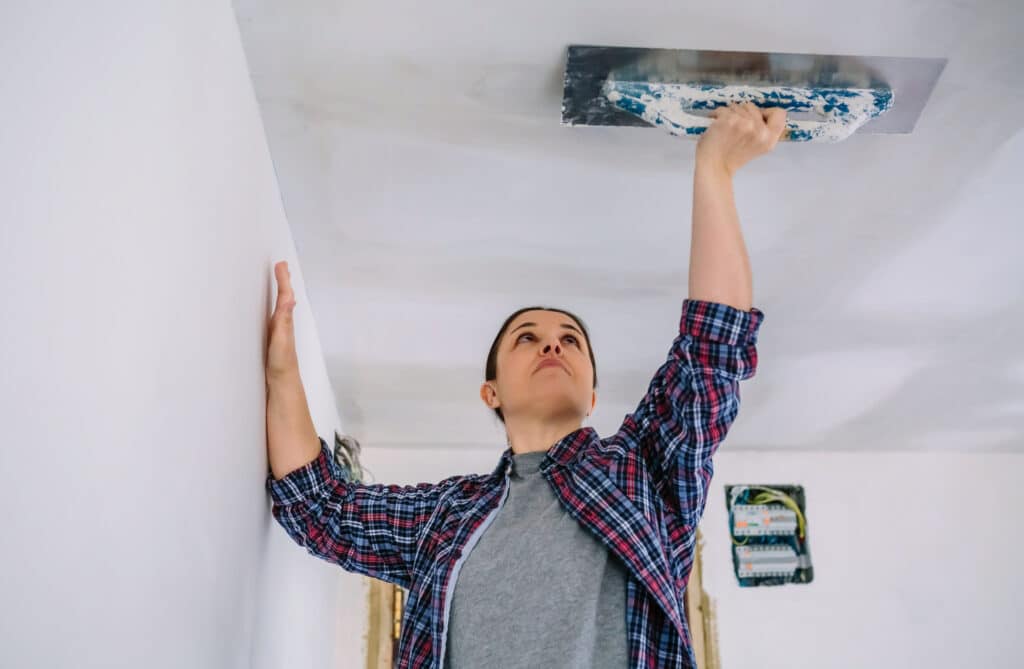
- Check the ceiling for any water damage, holes, or fractures. To fix these problems, use an appropriate filler or patching material. For the particular product that you are using, ensure to adhere to the manufacturer’s directions.
- Thoroughly clean the surface of the ceiling to get rid of any dust, filth, or grease. Wipe away any debris with a moist cloth or vacuum cleaner. Better paint compliance and a smooth finish are guaranteed by this procedure.
- Check to see if the ceiling is spotless and clear of debris. Apply spackle to any holes or cracks to seal them.
Step 3. Priming

- Use a high-quality and premium primer that is created especially for ceilings. Select a primer that is suitable for the type of ceiling you have, as well as the paint that you will be using.
- To begin, use a brush to cut in the ceiling’s margin while applying primer to a tiny area at a time. This helps in establishing a clear and precise separation between the ceiling and the walls.
- After finishing the edges, roll the primer over the bigger portions of the ceiling. Now to ensure that the ceiling is consistently covered, work in tiny parts while moving with overlapping strokes.
- Pay attention to the manufacturer’s recommendations for drying timeframes. Primers often need at least a few hours to dry.
Step 4. Painting

- Choose a high-quality and premium black paint that has been specially created for ceilings. To reduce light reflection and produce a more consistent image or finish, choose a flat or matte finish paint.
- Similar to how you did with the primer, start by brushing in the margins of the ceiling. The neat and accurate line where the ceiling and walls meet is ensured by this procedure.
- To cover the bigger parts of the ceiling with black paint, use a roller. Work your way across the room, starting with one corner and using overlapping, fluid strokes.
- Instead of using one thick layer of paint, use many light coats. Better coverage is possible as a result, and uneven spots or drips are also prevented. Between each layer, adhere to the drying time recommended on the paint package.
- To get a smooth and even finish, take your time painting and keep a steady pace. Make sure you are consistent.
Step 5. Finishing Touches

- Check the ceiling for any missing spots, uneven surfaces, or drips after the last layer of paint. As necessary, use a brush or roller to touch up these areas.
- Follow the paint manufacturer’s recommendations and wait until the painted ceiling is completely dry before continuing with the rest of your basement renovation, such as installing lights or decorating the room.
- You may take off the tape when the paint has dried.
You can guarantee a successful DIY project by carefully following these instructions when painting the exposed basement ceiling black. Always be careful, take pauses as required, and take pleasure in the process of changing your basement into a stylish and welcoming space.
Points to Be Considered While Painting Basement Ceiling Black
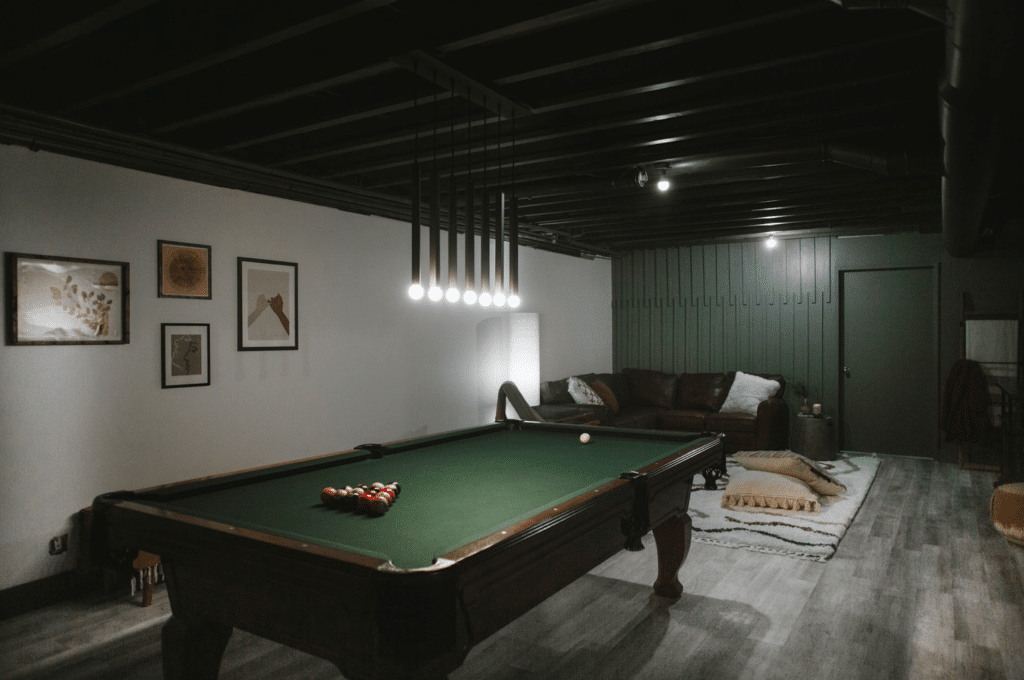
- How to strategically use lighting fixtures to highlight the black ceiling and the significance of lighting in a basement are to be discussed. Draw attention to solutions that can evenly illuminate the whole room, such as pendant lights, track lighting, or recessed lighting.
- Describe the process of choosing complimentary colors for the walls, flooring, and furniture to produce a unified and beautiful design plan. Discuss several color schemes and provide advice on how to choose colors that complement a black ceiling.
- Explore other ways to finish the black ceiling, such as adding a subtle texture or painting with shiny or glossy materials for a more stunning result. Give detailed directions on how to obtain each finish, as well as the benefits and drawbacks of each.
- Installing a black-painted ceiling in a basement will help with the problem of sound absorption. Discuss ways to improve the room’s acoustics, for as by installing acoustic panels or soundproofing, to lessen echoes and improve the sound quality overall.
- Provide other design ideas that can improve the look of a basement with a black ceiling as a whole. Examples include including artwork, accent walls, strategically placed mirrors, or installing attractive ceiling tiles.
- Include less expensive options for painting a basement ceiling that is visible black. This might involve utilizing readily fitted black ceiling tiles or panels or black fabric or drapes to get a similar effect.
Benefits of Painting Basement Ceiling Black
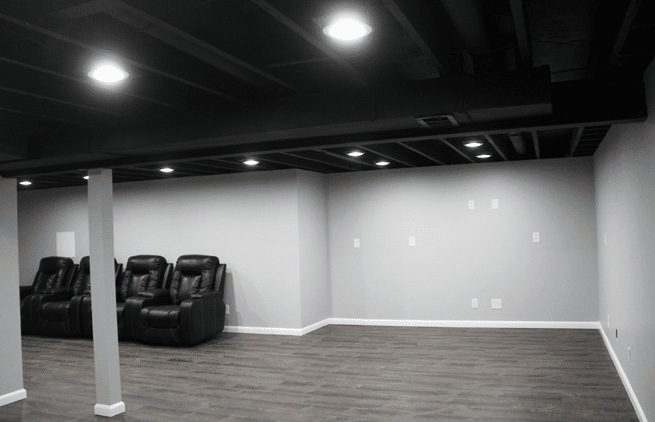
There are various benefits to painting the basement ceiling black, all of which may significantly improve the room’s overall look. Here are several major advantages.
- Black is a classic color that emits enhancement and elegance. You can quickly improve the overall appearance and ambiance of the space by painting the exposed basement ceiling black. In comparison to the lighter walls and furniture, it gives a bit of drama and makes a visually stunning contrast.
- Low ceilings are a common feature of basements, which can contribute to a claustrophobic feeling in the room. However, it can provide the impression of height by painting the ceiling black. The dark color visually diminishes, creating the appearance of a taller ceiling and a roomier environment.
- The number of exposed ducting, pipes, and cables that are common in basements can be really ugly to look at. These features can be hidden by painting the ceiling black, which helps in making them less obvious. It gives the area a unified and consistent appearance, reducing distractions and letting other design aspects shine.
- The neutral backdrop of a black ceiling complements a variety of design styles. A black ceiling may easily match your preferred style and bring the area together, whether you choose a modern, industrial, or even a warm rustic look.
Here Are Some Tips for Painting Basement Ceiling Black
- Make sure to use high-quality and premium black latex paint. This will guarantee that the paint is long-lasting.
- To get a smooth and flawless finish, use a paintbrush or roller with a long nap.
- Be careful to let the paint completely dry in between applications.
Anyone can complete the relatively simple task of painting the exposed basement ceiling black. You can give your basement a sleek, industrial vibe with a little planning and work.
Some additional tips to keep in mind while painting an exposed basement ceiling black
- You might want to think about painting your ceiling’s numerous pipes and wiring black as well. This will contribute to a more unified appearance.
- You may paint the walls a light grey or white to provide some contrast. This will contribute to the ceiling looking even darker.
- Using matte black paint could be a good idea if your basement is tiny. The ceiling will look higher as a result of this.
Conclusion
A very easy DIY project that can significantly change the way your basement area looks and feels is painting the open basement ceiling black. You may create a dramatic and luxurious ambiance by embracing the beauty of black.
For a smooth and even finish, remember to prime the surface, clean and fix the ceiling, and apply many coats of black paint. For the best results, take your time and pay close attention to every little detail.
Your basement may become an attractive and welcoming space that serves purposes other than what it was intended for with a little work and imagination. Unlock the possibilities of your basement room by embracing the power of black paint.
No matter what your taste in style is, updating your space by painting the basement ceiling black is a terrific idea. You may get an industrial and modern style with a little work.


