
8 Tips for Painting Basement Ceiling to Create a Gorgeous Space
Unfinished painted ceilings are always a headache, but is it too tough to paint one? The answer is no. Painting basement ceilings is a DIY task. Rather than frowning over how to pull it off all by yourself, the key is to plan well and then finish it like a pro! If you are seeking suggestions and steps to paint an unfinished ceiling, we are here to help.
We will be discussing everything from the kind of paint you should consider to paint a basement ceiling to the safety measures to be taken, the required tools, and how to get the work done completely.
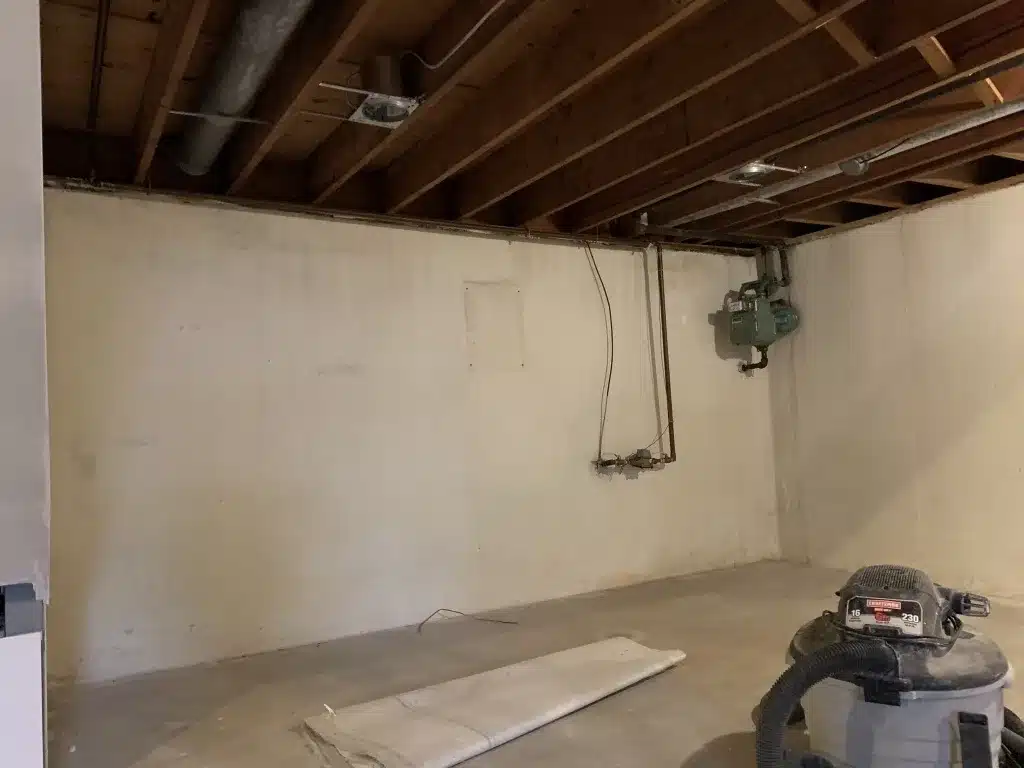
It is normal to have floor joists and nails protruding from an old or unfinished basement ceiling. The basic idea behind painting basement ceilings is to make the entire area look its best. It includes covering or safeguarding the wires and cleaning the dust before starting to paint.
Scroll down to learn everything one should know about how to paint an unfinished basement ceiling.
Painting the Basement Ceiling
A good number of things have to be planned and kept handy before starting the painting process. Most times, people prefer painting the ceiling white. But depending on the scenario, the white paint might end up exposing the defects on the ceiling. Hence, good thought and analysis must be put into this. Also, if you are going to choose black paint right away, think again about whether it is okay to make your basement ceiling look dark. Below are the steps that are recommended for you to paint basement ceilings in a DIY way.
Step 1: Safeguard the Portruding Wires

There can be instances where you can find porting wires from the ceiling. Before painting unfinished wiring, the very first thing to do is handle these wires properly. Identify the active and inactive wires first. Remove the old wires that are not in use.
After this, use cord staples to join the active wires and attach them to the joist. Doing this can make all the active wires stay organized on the ceiling surface.
In case you notice any kind of loose wire that you don’t want to get rid of, the best thing to do is to pin them to the joist as well. Make sure the basement ceiling looks neat before proceeding to the next step.
Step 2: Set up the Lights (optional)
You can avoid this step if you don’t want to make any kind of electrical addition to the ceiling. In some cases, if you require adding lights to the ceiling, you can do it at this point, right before painting the basement ceiling. For this, you can seek an electrician’s help. Let them know the kind of lighting you want, and also specify that they pin any extra wires to the joists to keep the ceiling clean.
Always make sure to communicate property to the electrician to avoid confusion.
Step 3: Removing Dust from the Joists

Let the ceiling joists get rid of dirt and dust before painting. The complexity of this step depends on how dusty the ceiling is and what furniture you have in the basement. One of the simple and best ways to clean the joists is to use a broom.
Other than this, if you don’t have any furniture in the basement and want to speed up the process of cleaning, using a leaf blower can do the job for you. Make sure your eyes are well protected, and wear a mask to safeguard yourself from excess dust while operating the blower.
Step 4: Choose the Right Paint

We don’t have anything specific to recommend for this particular step. The choice of paint basically depends on your taste and requirements. In most cases of basement ceiling painting, colors like white, black, or grey are used. You can go with any color that you feel will look good in the basement. Black paint will be perfect for hiding the faults on the ceiling. The downside of going with a black paint color is that it might make the basement look shorter. White paint can be used to make the basement look bright and radiant. But if white is your choice, then multiple coats of paint along with primer should be applied to get the right effect.
If you are stuck between black and white, we suggest you pick grey. Grey color paint is lighter than black, but it helps cover the faults in the ceiling.
Check out the Sherwin Williams Sea-Salt shade, which exhibits the properties of a blue-green-grey shade. This color can have a calming effect on your ceiling.
Step 5: Gather the Supplies
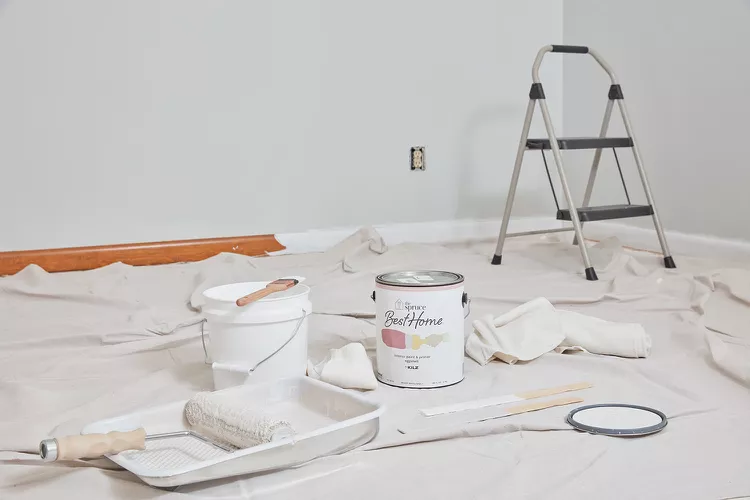
Make sure the below items are prepared for usage:
- Paint Sprayer
- Primer (If Required)
- Paint
- Painter’s Tape
- Drop Sheets/Tarps
- Protection Utilities
Step 6: Preparing the Basement for Painting
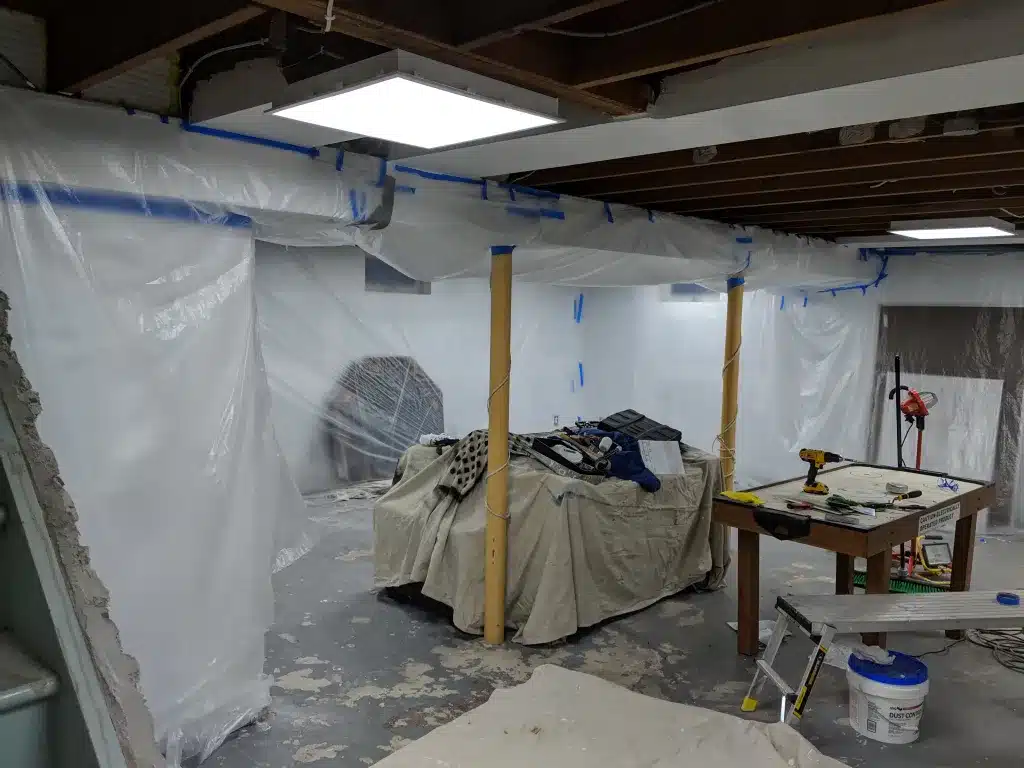
The first thing to do is protect your basement from paint overspray. This is very important, as a small mistake can adversely affect the whole look of the basement.
One of the best ways to safeguard the whole room is by tarping the unnecessary areas. Remove everything from the basement first and use tarps to cover the portions that won’t be painted. If needed, you can use tape to keep the tarps in their positions. Don’t forget about light bulbs, as they too might get overspray.
To avoid this, it is recommended to cover them with plastic bags.
The next thing is to protect yourself from paint. At the very least, it is recommended to use goggles and a mask to avoid paint getting in your eyes and inhaling it. Wearing the right shoes for painting can keep you from creating a trail of paint during the work. You can also buy a respirator if the mask is not keeping you from inhaling paint.
It is not that the paint is a hazardous substance, but it is not pleasant to continuously inhale the paint either. Wearing gloves can be really helpful while painting the ceiling.
Step 7: Painting the Basement Ceiling

Here is the main step of the process: After re-checking that the basement is well prepared for painting and self-protection is ensured, start painting the basement ceiling using the paint sprayer.
Make sure not to overpaint and use all the paint right away. If your basement ceiling has not been painted before, you can first apply a coat of primer to make the paint stick well to the ceiling. The wooden ceiling can easily be made to look lighter in color using a primer.
For a whiter ceiling, it is suggested to use a stronger primer. Even if you are going with a black paint color, it is still suggested to apply a mid-tone primer first for the best final results.
If you feel like applying multiple coats of primer, make sure the first coat is dry before starting to apply the second.
Pro-Tip: Keep moving fast after spray painting an area to avoid paint dripping.
Step 8: Final Touch Up

Once you are done, do a quick analysis to see if any part is left behind and if the corners of the whole ceiling look uniform. Use the remaining paint now for a touch-up to make the ceiling look perfect. For sure, you will notice spots that are not covered by the paint spray.
At this point, a normal paintbrush can come in handy. Depending on the size and reach of the missed spot, you can determine the kind of paintbrush you want to use. Simply apply paint to the missed-out areas to make the ceiling look more uniform. There might be spots that can still go uncovered when it comes to hard ceiling surfaces.
Don’t worry, as long as such spots stay out of immediate sight. After painting the basement ceiling, let it dry and remove the tarps to get a good look at your now-finished basement ceiling!
Pros and Cons of Painting the Basement Ceiling
You can choose to DIY or consult an expert after analyzing the pros and cons of painting an unfinished basement ceiling.
Pros:
- Painting a basement ceiling is less expensive compared to painting drywall.
- You are the master at work. Going DIY when it comes to painting basement ceilings can give a customized and industrial look to the basement. You can tweak the process on the go as well.
- Doing it yourself benefits a lot when it comes to using the properties required for painting. You don’t have to rely on other sources for the same, as everything will be available already. Even if you are doing it for the first time, the mechanics can be reused again in the future, making it a one-time installment.
Cons:
- You will need an entire day to set things up from scratch and prepare the basement for painting before finally painting it. Hence, painting basement ceilings is definitely a time-consuming task. If you have a hectic schedule, DIY is not suggested.
- If not done with proper planning and a lack of concentration, the ceiling might look odd, and instead of reducing expenses, it might shoot up extra charges for repainting.
End Note
Painting a basement ceiling might look like a really tough thing to DIY, but the right planning can slash your effort and time in half. We hope the above guide will help you with things that you should be prepared for beforehand while painting an unfinished basement ceiling.
To help you further, we have added links to various products you can check out in the article that can help you with the painting process. It is to be noted that it might take some time for you to get used to the spray painter if you are a beginner.
Just make sure to adjust the intake tube of the sprayer according to the angle of the sprayer, and you will quickly learn how to paint perfectly!
Frequently Asked Questions
How Can I Prepare an Unfinished Basement Ceiling for Painting?
To start with, make sure the wiring is kept away from pipes and metal parts of the ceiling. Clean the ceiling well to avoid dust and dirt completely. You can use a paper sheet to cover any wiring that might come into contact with metal parts of the ceiling.
What are the Best Paint Color Options for a Basement Ceiling?
Colors such as white, black, and grey are mostly preferred for basement ceilings. Although there are no reasons to use only these shades, You can even go with a color that matches the walls of the basement to create a matching effect.


