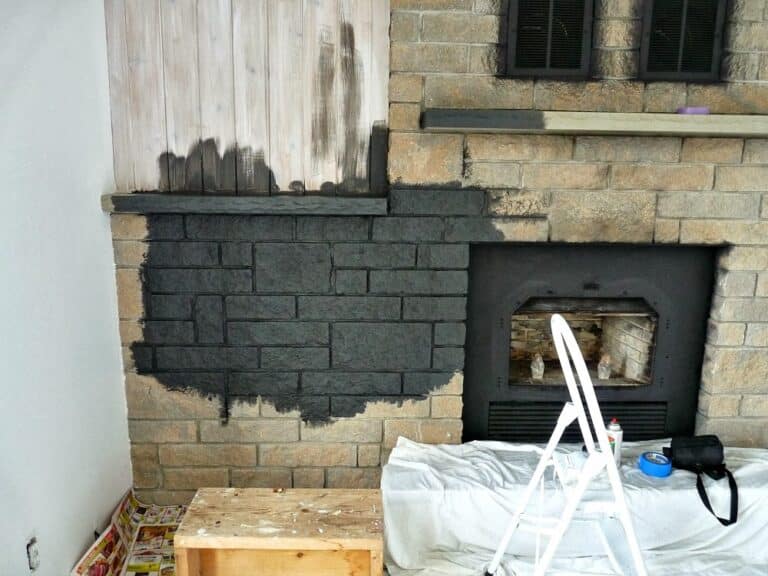
A Complete Guide on How to Paint Dresser in Dreamy Blue Color
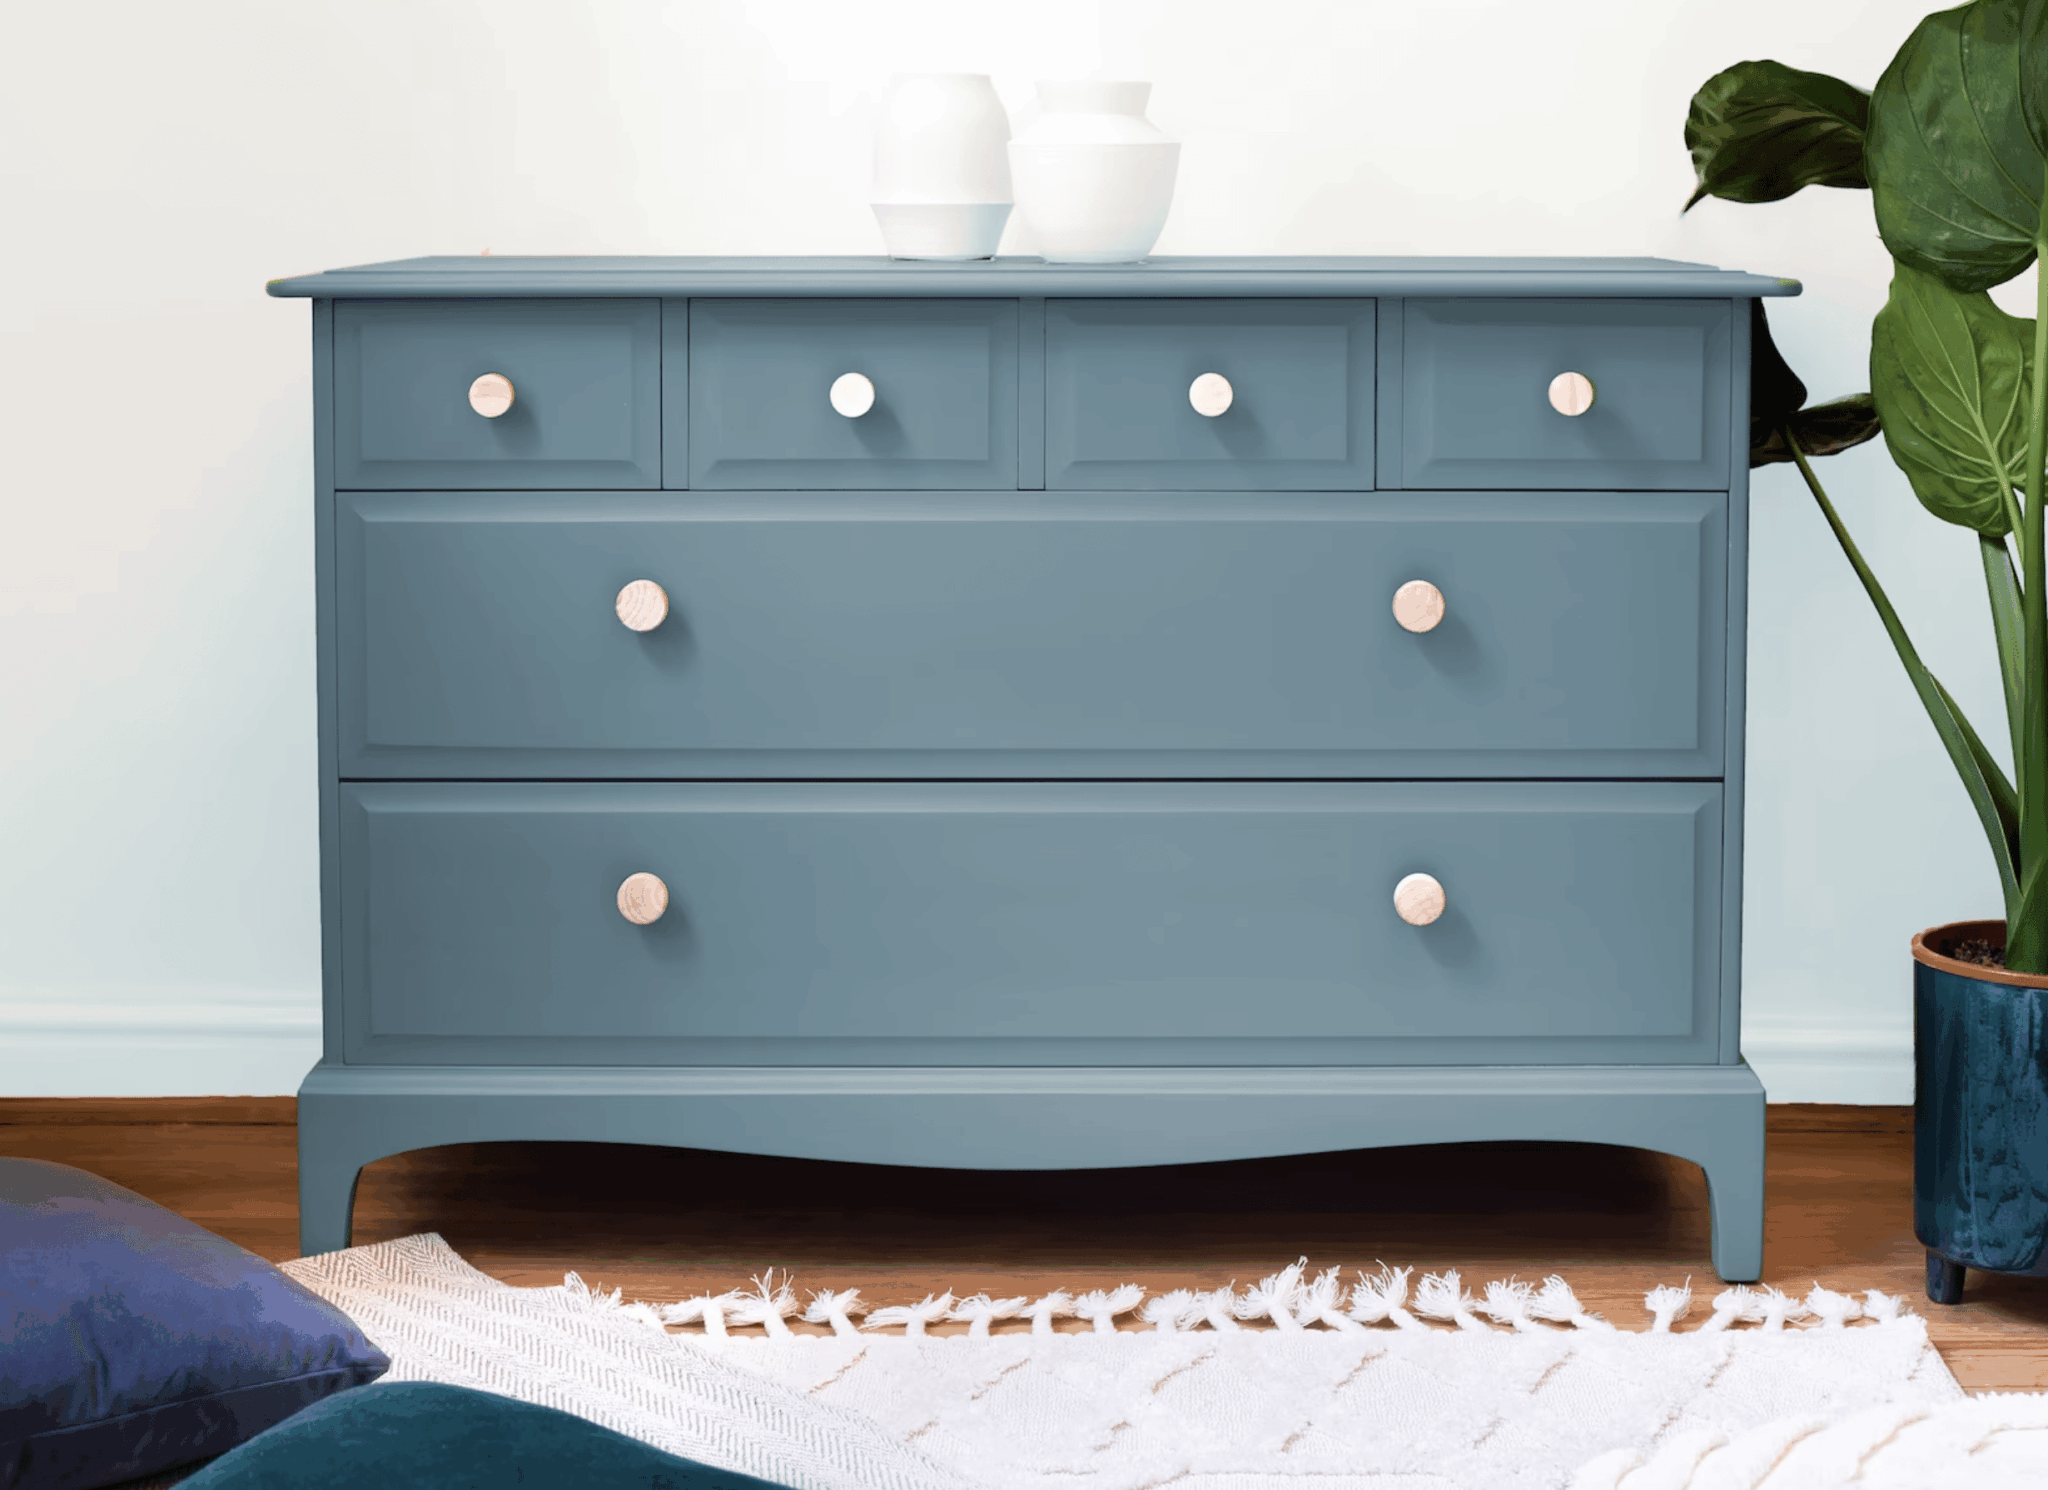
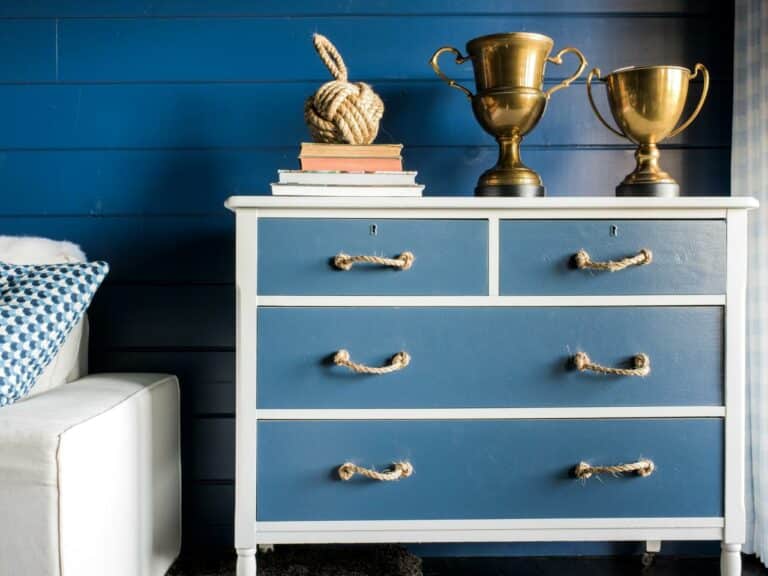
Are you looking to give a makeover to your old dresser and turn it into the furniture of your dreams? Navy blue dressers are in vogue these days because of their eye-catchy look and oceanic vibe. You can transform your basic dresser into an appealing dreamy blue dresser that is sure to capture everyone’s attention.
Just by applying a fresh coat of paint to your old dresser, you can give it the ideal blue shade you desire. You can apply pale blue to your dresser to soften its look, stick with a neutral shade to give it an inviting look, or choose a dramatic blue color to give your dresser a strong, regal flare. Whenever you see the dresser, it will remind you of the sea and sky and create a soothing effect in your bedroom.
But if you are new to the painting world, we’ll equip you with the knowledge required to paint dressersinto your favorite shade of blue.
Tips and Tricks to Paint Your Dresser in Blue Color
We will break down the steps required to paint the dresser in your favorite blue shade and make it the most cherished decor piece of your room.
1. Gather All the Essential Supplies
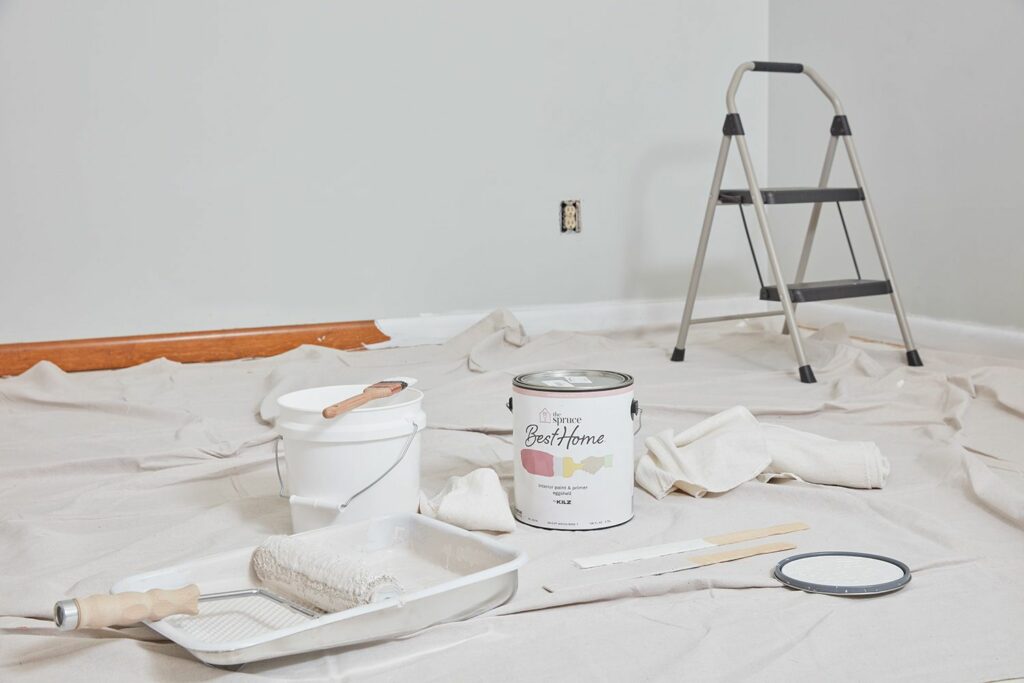
You must have the right supplies and tools to give a dreamy makeover to your dresser. Keep all the supplies in one place to ensure that they are easily accessible, and you don’t have to run to different places to get the desired tools. Here is the list of the supplies you’ll need for painting your dresser in your favorite shade of blue.
- Blue furniture paint
- Sandpaper
- Paintbrush
- Vinyl gloves
- Baby wipes
- Clear Shellac
- Floor covering to protect your floor
- Stencil
- Small roller pan
- Lint-free rags
- Disposable gloves
- Milk paint
By gathering all these essential tools and equipment, you’ll be able to color your dresser in your favorite bluish hue that will remind you of the seaside and the waves.
2. Fill in The Old Holes and Remove the Hardware
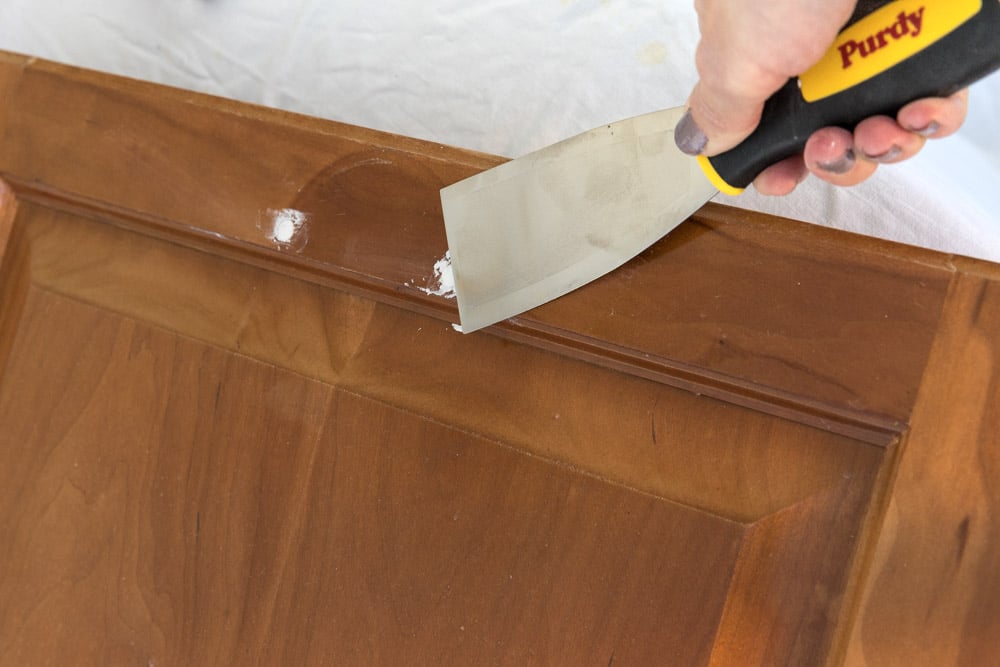
Unscrew all the hardware and screws of your dresser and place them in a container in a safe location. Clear everything out of the drawers to avoid ruining your cherished belongings. Remove all knobs, drawers, handles, and shelves to protect your hardware from dribbled paint. This also eliminates the chances of painting drawers shut.
Cover the tabletop or floor where you’ll be working with a plastic drop cloth or fabric. Drop cloths absorb drips and splatters, saving you a lot of clean-up time. Fill in old holes with caulk or putty.
Use your finger to apply putty to the cabinet’s hole. Push the putty or caulk in to fill the hole completely. Remove excess putty with a damp cloth. Give sufficient time for the putty to dry. Add more if required.
If the color of the patched hole is still not close to the cabinet finish, you can use putty pencils and stain markers to help camouflage the repair.
3. Prepare Your Dresser
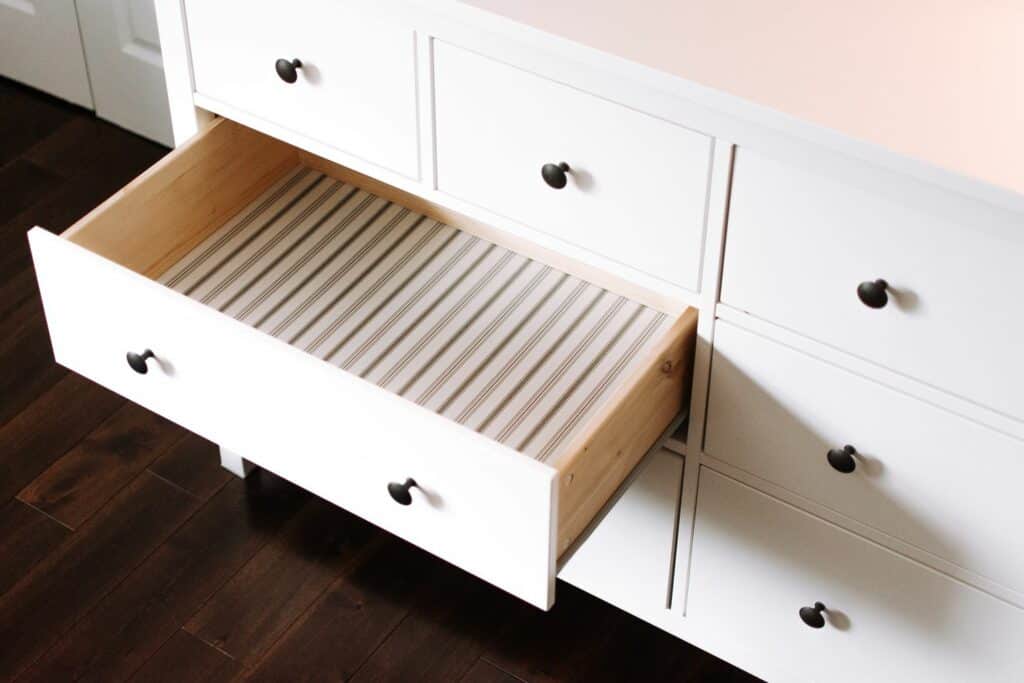
You won’t be able to achieve a smooth paint finish on your dresser if you don’t clean it properly. Remove any dust, debris, grime, and grease from your dresser to ensure nothing on the surface that could lead to an imperfect finish or cause the paint to not stick. You can use a damp cloth and ordinary soapy water to clean your dresser. But don’t use water in an excessive amount as it can soak into the wood.
This will increase your wait time before painting or priming until your dresser is completely dried through. You can also use white spirit to remove oil and sticky residues.
Clean the dresser thoroughly and wipe it down to remove all particles. Also, check the condition of your dresser. If it has lots of chips or the surface is bumpy with old stickers, you’ll have to sand your dresser before painting it.
4. Scuff Sand

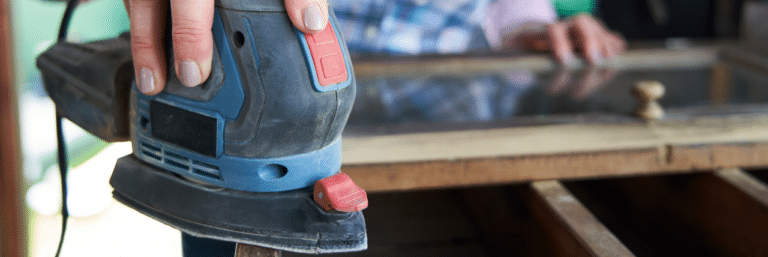
Inspect your dresser for any deep scratches. Sand your dresser before painting to ensure that the paint doesn’t peel off. Sanding will remove the existing paint and create a smooth base for the new paint to stick to. You can use sandpaper wrapped around a block or a mouse sander to get into any tight corners.
But do not press too hard on curved areas as it can alter the shape or design of the dresser. When painting glossy or metal surfaces, sanding can be helpful in scuffing up the surface, leading to better adhesion.
Minimize the appearance of minor damages with the help of wood filler. Allow the filler to dry completely before you sand it down so that it is level with the rest of the surface of the item. Once the process is complete, use a damp, lint-free rag or vacuum hose attachment to remove the dust.
5. Prime Your Dresser
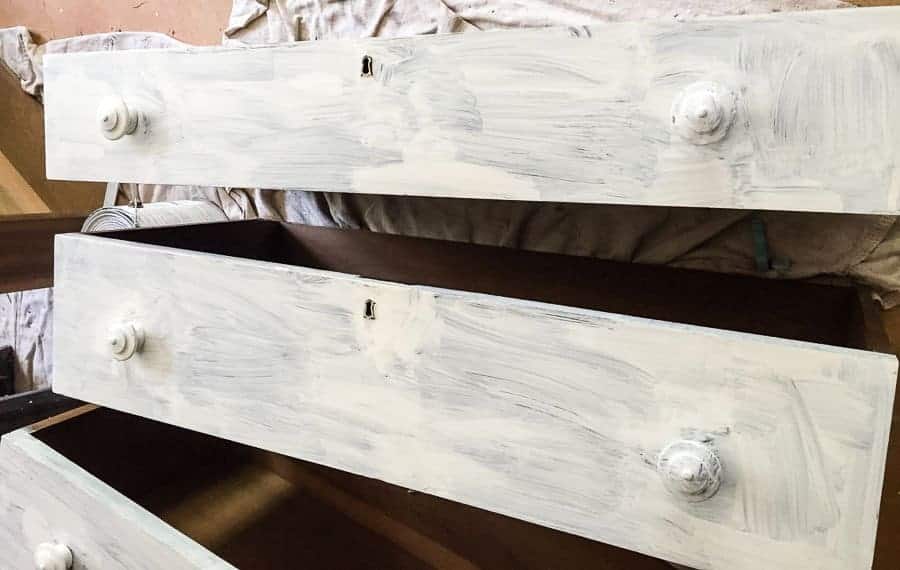
It is important to prime your dresser before painting it. This will ensure that the paint adheres better. The primer will seal the paint underneath so it won’t bleed through over time.
If you paint your dresser without the primer, you may have to apply more coats of paint to get the job done. If you have a wooden dresser, use a primer specifically designed for wooden surfaces. Wait for the primer to dry before painting the dresser.
Priming furniture can be the best way to cover any blemishes or knots. It may even help you achieve a richer or deeper blue color when painting. The paint will bond more evenly and easily with the primer, so don’t ignore this step if you want to get the best paint results for your dresser.
6. Apply Blue Paint
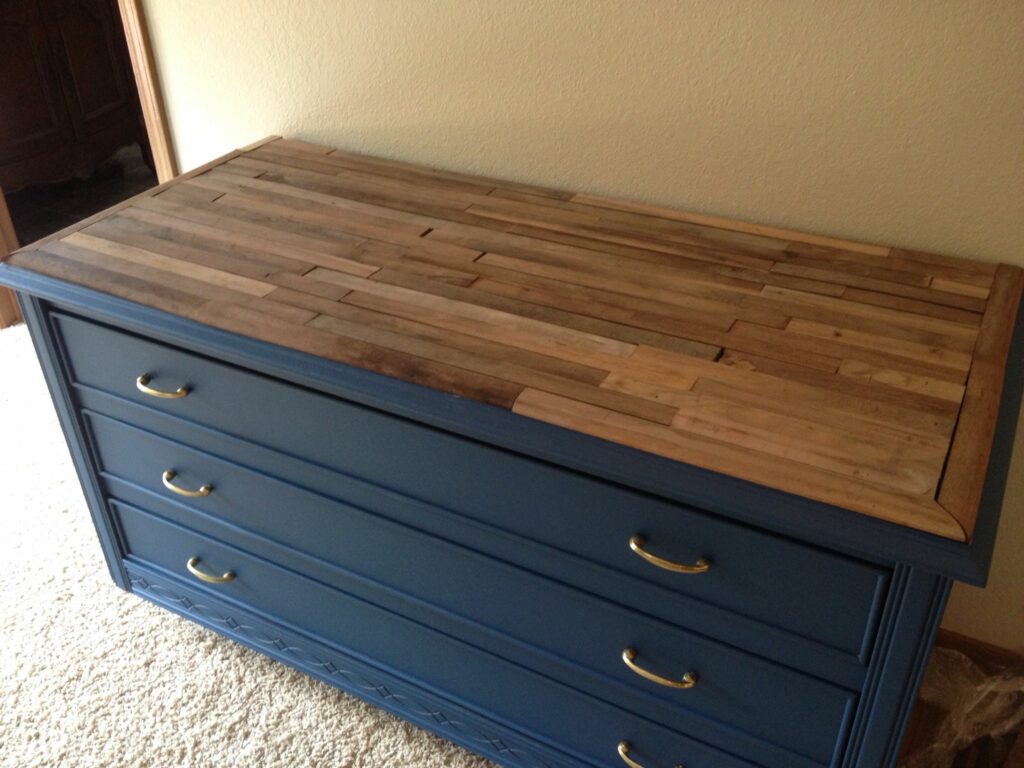
Once you’ve chosen the color for your dresser, finalize the finish. Paints are available in various finishes ranging from shiny high-gloss to matte to satin. Chalk paint or milk paint can also be a good option as they create chippy, distressed finishes. If you have a wooden dresser, use an oil-based or latex paint. Latex cleans up easily with water and dries faster. Oil-based finishes require mineral spirits for cleanup but take longer to dry.
For metal dressers, oil-based paint can be a better choice than latex. Get enough paint for two coats or a primer and paint product for two coats. You can cover about 400 square feet of the dresser with a gallon of paint. A quart of paint can be used to cover 100 square feet. You can also test samples of various shades of blue on your dresser before finalizing any one of them.
Apply multiple light coats than one heavy coat for an even finish. Allow ample drying time between coats.
7. Finishing Touch
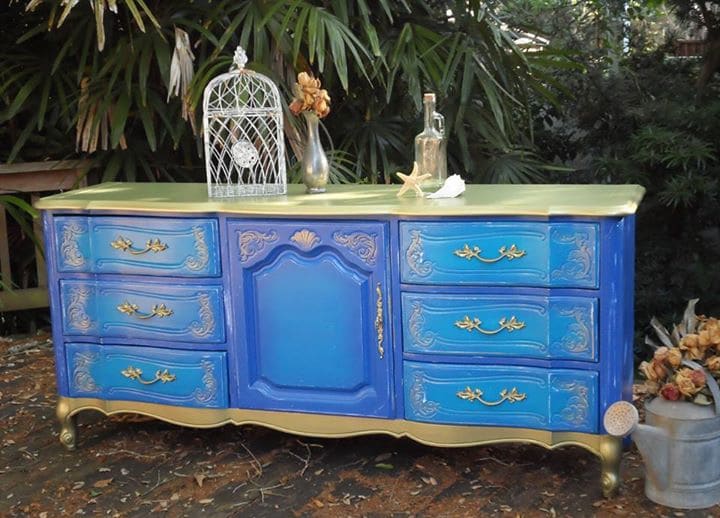
Seal your dresser paint to ensure it doesn’t chip or flake off. Sealing your dresser will also protect it from stains, scratches, and other damage and protect the underlying metal or wood that the paint is covering.
You can choose liquid sealant if you want to provide more protection to your dresser. Always read the label for product instructions. Leave the freshly painted dresser in a well-ventilated space for at least six to eight hours or until it becomes completely dry.
Reinstall the hardware and reassemble the dresser. Place the dreamy blue dresser in the favorite area of your bedroom and let it become the attention-worthy decor item of your space.
Mistakes to Avoid While Painting Your Dresser in Blue Color
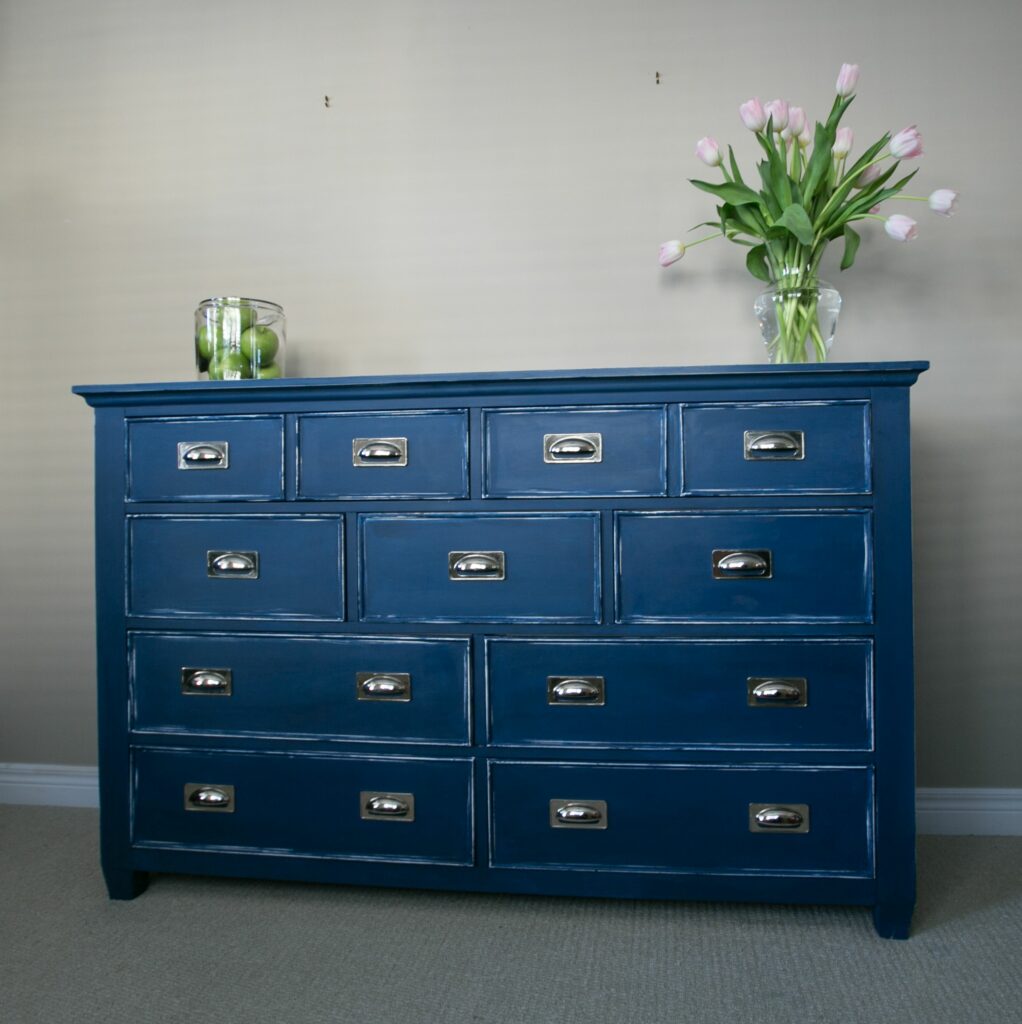
While blue is one of the most sought-after colors for the dresser, if you don’t apply it evenly, it can ruin the look of your furniture. It also comes in various hues, so it is important to select the shade that matches the ambiance of your bedroom. Here are a few mistakes you must avoid to achieve the dreamy blue paint finish on your dresser.
- Don’t skip surface preparation as it can lead to uneven application of paint on your dresser. Clean your dresser and remove any dust, debris, grime, and grease. Sand the rough areas and apply high-quality primer to ensure that the paint lasts for a longer time.
- Don’t use low-quality brushes or paint, as it will lead to a poor finish, and you may have to redo the entire process again. Low-quality rollers can leave marks on the dresser giving it an unappealing look. Always invest in good quality paint products to reduce your efforts and time in dresser paint.
- Don’t ignore going through the manufacturer’s instructions while using any paint product. By following the instructions of the manufacturer, you can be assured that you’re using the paint and the other supplies correctly. Manufacturers also provide safety guidelines with each product. You should go through them to avoid any chances of accidents or mishaps.
- Don’t paint your dresser dark blue if the walls of your bedroom are of dark color. Use a lighter hue to ensure that the dresser doesn’t add to the already bold vibe of your room. By choosing a lighter blue shade for your dresser in a dark room, you’ll ensure that everything looks well put together.
- Don’t overload your paintbrush; else, the paint will get slathered on your dresser, creating runs. Place a rubber band around the paint can to prevent overloading your brush. You can also offload some of the paint along the can’s side.
- Never paint in a dark room. Turn on sufficient light when painting so that you can see the runs and drips easily. Smooth the drips and run as soon as possible, or else they can leave a mark.
- Don’t apply too thin or thick paint. If you apply thick paint coats, it can lead to sagging, drips, and longer drying times. Thin coats will provide insufficient coverage.
- After painting the first coat, let the paint dry for about one to two hours before applying a second coat. Go through the instructions on the back of the paint to know how long you need to wait in between coats.
Conclusion
Revitalize your outdated dresser with the help of the painting tips and tricks mentioned above. You can choose any shade of blue to make your dresser stand out in your bedroom. But keep in mind the ambiance of your room while selecting the bluish hue for your dresser. Use high-quality paint and supplies to get professional results.
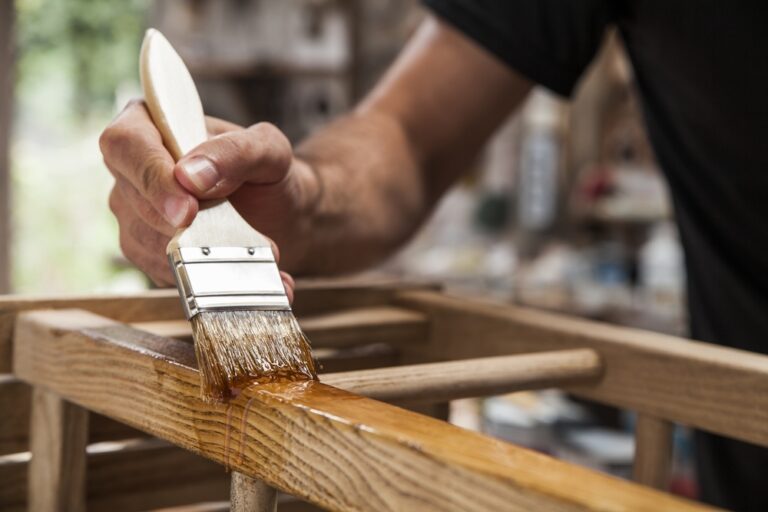
Paint with linear, long strokes from one side of your dresser to the other. Complete the drawers, frames, and faces individually to avoid inconsistencies and oversights.
Once your paint job is over, you’ll be amazed to see the final results. Your newly painted blue dresser will become the most cherished decorative item in your bedroom.
Frequently Asked Questions
What Kind of Paint Should You Use on Your Dresser?
Use paint specifically made for furniture. Avoid using wall paint on your dresser. A semi-gloss or satin paint has the most durable finish. Latex paint is also a good choice for dressers due to its quick drying time, ease of application, and low odor.
What is the Right Way to Paint Your Dresser?
A paint sprayer can be the best choice to paint your dresser. It delivers the smoothest coat and gives the best finish. You can use lint-free microfiber rollers to paint flat surfaces. If you prefer a distressed or hand-painted style, you can use specialty brushes for painting your dresser.

