Step-By-Step Guide on Staining Oak Cabinets with Espresso Finish
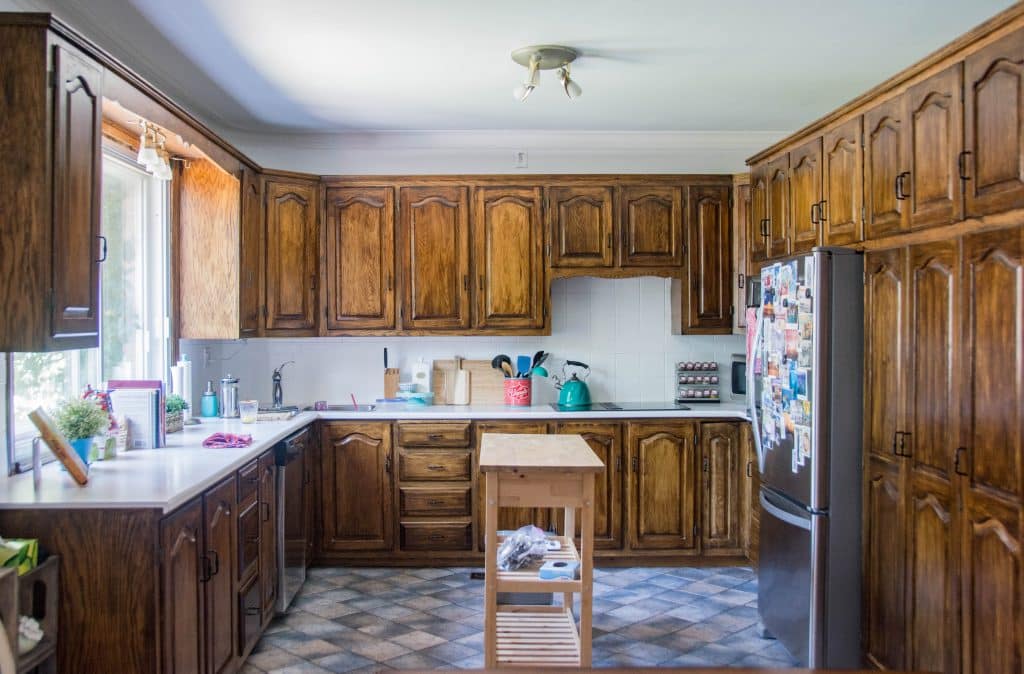
Are you looking to give your oak cabinets a fresh new look? Well, staining them with an espresso finish might be just the thing you need! In this article, we’ll guide you through the process of staining your oak cabinets and achieving that beautiful espresso color you have been dreaming of.
Now, you might be wondering, what is so special about espresso finish? Well, let me tell you! Espresso is a rich, dark brown color that brings a touch of elegance to any space. It is a popular choice for oak cabinets because it adds depth and warmth, making your kitchen or bathroom look absolutely stunning.
So, let us dive in and learn how you can transform your oak cabinets with an espresso finish. We will provide you with a step-by-step guide and answer some frequently asked questions along the way. By the end of this article, you will be equipped with the knowledge and confidence to tackle this exciting project.
Alright, you are ready to get started? Let us turn those plain oak cabinets into a masterpiece!
How to Stain Oak Cabinets with an Espresso Finish?
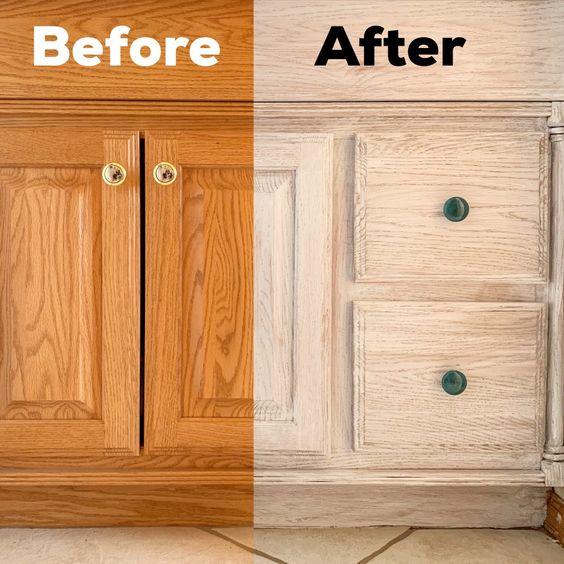
Let us break down the process of staining oak cabinets in an espresso finish. Follow these steps, and you will have beautiful transformed cabinets in no time!
Step 1: Preparation
First things first, we need to prepare the cabinets for staining. Start by giving them a good cleaning. Wipe away any dirt or grease using a mild soap and water solution. Let’s make sure those cabinets are squeaky clean!
Next, we will need to sand the cabinets to create a smooth surface for the stain to adhere to. Grab some sandpaper, preferably around 120-grit. And gently sand the cabinet surfaces in the direction of the wood grain. This will remove any existing finish or rough spots, giving us a fresh canvas to work with.
Step 2: Choosing the Right Stain
Now comes the fun part – choosing the perfect stain for your oak cabinets. There are different types of stains available, such as oil-based or water-based stains. Consider factors like the color intensity you desire and compatibility with oak wood.
Head to your local home improvement store and explore the stain options. Don’t be afraid to ask for advice from the store staff, they are usually happy to help!
Step 3: Applying the Stain
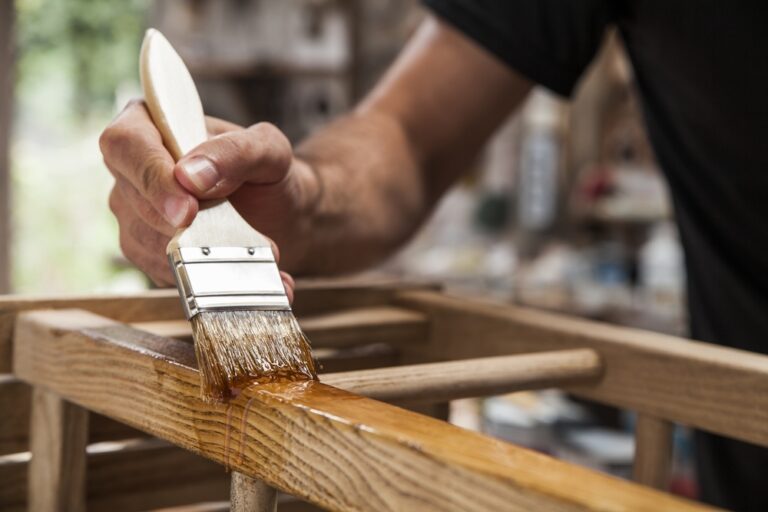
So, we are ready to apply the stain. Grab a brush, a cloth, or a foam applicator and dip it into the color. Start applying it to the cabinets, working in the direction of the wood grain. Make sure to apply an even coat, and don’t forget to get into those nooks and crannies.
Remember, less is more! Start with a light application and gradually build up the color to achieve your desired shade. If you want a darker espresso finish, you can apply multiple coats, allowing the stain to dry between each coat.
Step 4: Drying and Curing Time
Once you have applied the stain, we need to let it dry and cure. Give it some time, usually around 24 to 48 hours, so that the stain can fully penetrate the wood and develop its rich color. Be patient, my friend, good things come to those who wait!
Step 5: Applying a Protective Finish
To ensure your espresso finish stays beautiful and durable, we recommend applying a protective finish like sealant or polyurethane coating. This will provide an extra layer of protection and make your cabinets easier to clean. Simply follow the instructions on the protective finish product you choose. Apply it evenly with a brush or foam applicator, allowing it to dry completely.
There you have it. Your oak cabinets are now adorned with a gorgeous espresso finish! Stand back and admire your handiwork. It’s amazing how a little stain can completely transform the look of your cabinets.
Now, let’s move on to some questions you might have about this process.
How Long Does It Take to Stain Oak Cabinets with an Espresso Finish?
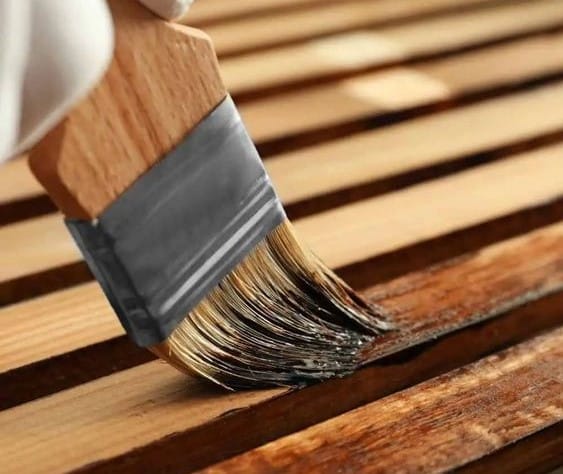
When it comes to staining oak cabinets with an espresso finish, you might be wondering how much time it will take. Well, the time can vary depending on a few factors. On average, staining oak cabinets can take a few days to complete the entire process, including drying time.
First, the process of cleaning and sanding the cabinets might take a few hours or so. Then, the actual staining process with also require some hours or a day. It is important to apply the stain in thin, even coats; the drying process in between each thin and even coat typically takes around 24 to 48 hours to fully dry and cure.
Remember, patience is the key! Rushing the process might result in an uneven finish. So take your time, enjoy the journey, and before you know it, your oak cabinets will have that beautiful espresso finish you have been dreaming of.
What Tools and Materials Are Needed for The Staining Process?
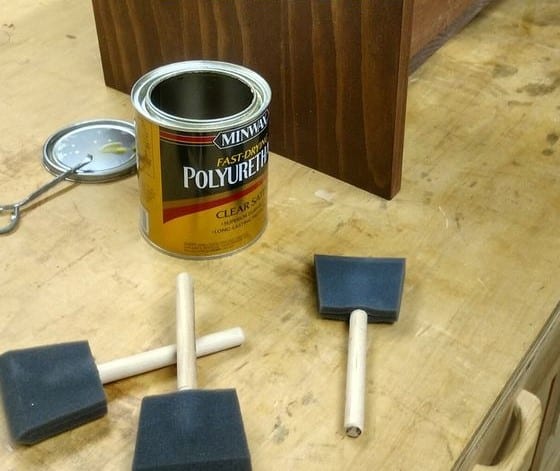
To stain your oak cabinets with an espresso finish, you will need a few tools and materials. Do not worry; they are readily available and easy to work with! Here is what you need:
- Sandpaper (around 120-grit) for sanding the cabinets and creating a smooth surface.
- Brushes, cloths, or foam applicator for applying the stain.
- The chosen stain in the color of your preference. May it be oil-based or water-based.
- A protective finish like a sealant or polyurethane coating keeps your cabinets looking fresh and protected.
You can find these items at your local home improvement store. If you are unsure about anything, do not hesitate to ask for help from the store staff. They are usually friendly and knowledgeable, and they can guide you to the right tools and materials for your staining project.
Stain Over Existing Finishes or Paint on The Oak Cabinets
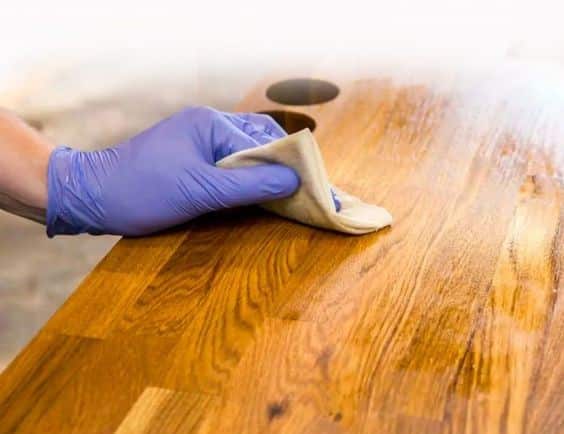
When it comes to staining oak cabinets, it is generally best to remove any existing finishes or paint before applying the stain. Sanding the cabinets will help get rid of the old finish, allowing the new stain to penetrate the wood better and achieve a more uniform color.
By removing the old finish, you will create a clean surface for the stain to bond with the wood, resulting in a more professional-looking and long-lasting finish. So, take the time to sand away any existing finishes or paint before diving into the staining process.
Trust us; it will be worth the effort!
How to Prepare Oak Cabinets Before Applying the Stain?
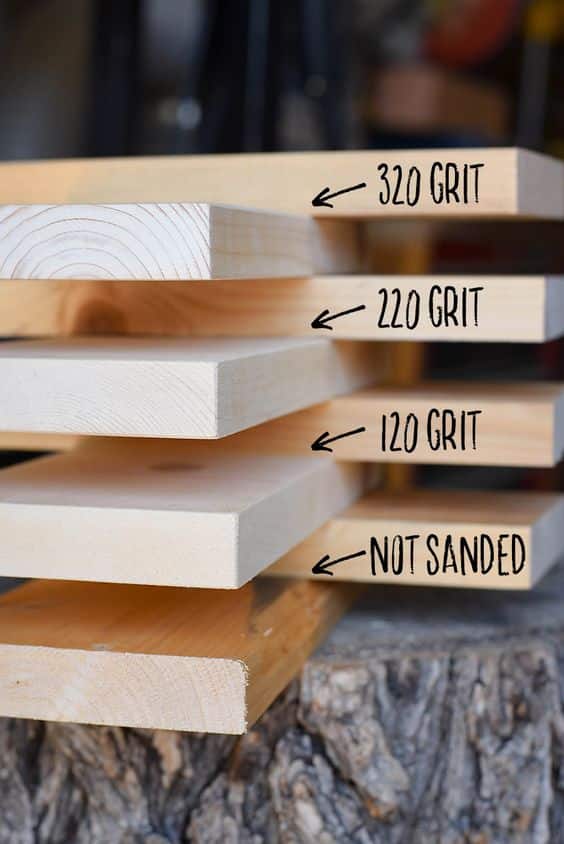
Preparing oak cabinets before applying the stain is essential for achieving a fantastic result. Here is what you should do :
- Start by cleaning the cabinets using a mild soap or water solution. This will remove any dirt or grease that might be on the surface. Let us make those cabinets squeaky clean!
- Grab some sandpaper, preferably around 120-grit. Gently sand the cabinet surfaces in the direction of the wood grains.
- By cleaning and sanding your cabinets, you will ensure that stain applies evenly and beautifully, enhancing the natural beauty of oak wood.
Factors to Consider While Choosing a Stain Color for Oak Cabinets
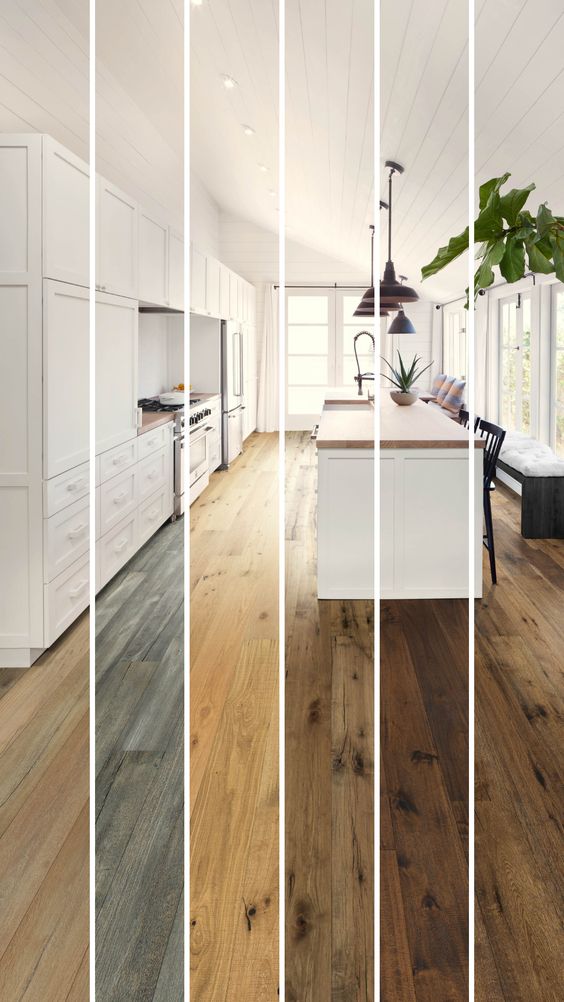
Choosing the right stain color for your oak cabinets is an exciting part of the process. Here are some factors to consider when making your decision:
- Desired Look: Think about the overall look and feel you want to achieve. Do you prefer a darker, more dramatic look or a lighter, more natural appearance? The stain color you choose will significantly impact the final appearance of your cabinets, so take some time to visualize the desired outcome.
- Existing Decor: Consider the existing decor in your kitchen or bathroom. You want the stain color to harmonize with the overall aesthetic. Think about the color of your countertops, backsplash, and flooring. Choose a stain color that compliments the existing elements and creates a cohesive look.
- Wood Grain Enhancement: Oak cabinets have a beautiful natural grain pattern. If you want to accentuate this feature, choose a stain color that brings out the depth and character of the grain. Darker stains like espresso can create a striking contrast, while lighter strains allow the grain to shine through.
- Sample testing: It is always a good idea to test the stain color on a small, inconspicuous cabinet area before committing the entire surface. This way, you can see how the stain looks on the oak wood and make any necessary adjustments.
Remember, choosing a stain color is a personal preference, so trust your instincts and go with what you love. After all, it is your space, and you should enjoy the end result.
Techniques to Apply the Stain Evenly on The Oak Cabinets
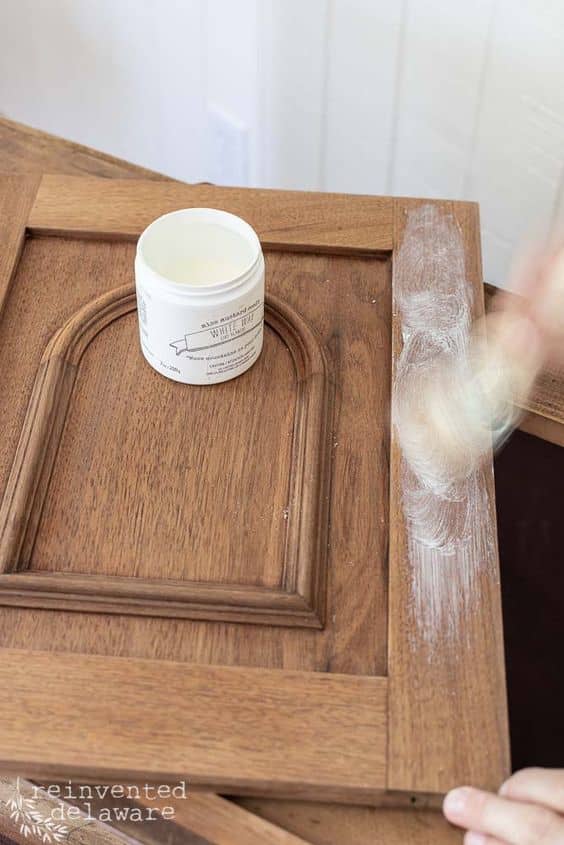
Applying the stain evenly is essential to achieve a professional-looking finish on your oak cabinets. Here are some techniques you can use:
- Rather than tackling the entire cabinet at once, it’s best to work in small sections. Apply the stain to one area at a time, making sure to cover it thoroughly before moving on to the next section.
- When applying the stain, always go with the direction of the wood grain. This technique ensures that the stain sticks to the wood evenly and enhances it.
- Apply the stain in thin, even coats. This technique prevents the stain from pooling or creating uneven patches. Allow each coat to dry before applying additional coats for a more intense color, if desired.
- After applying the stain, take a clean cloth and gently wipe off any excess. This step helps to prevent the stain from drying unevenly or forming blotches. It also gives you more control over the final color.
By following these techniques, you will be able to achieve a smooth and even stain application on your oak cabinets, resulting in a beautiful espresso finish that you will be proud of.
How Long Does It Take for The Stain to Dry and Cure?
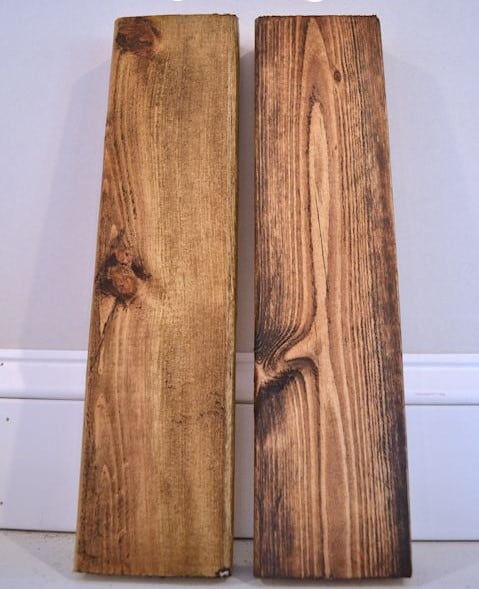
Typically, it takes around 24 to 48 hours to fully dry and develop its rich color. Patience is important during this process to ensure an even finish. During the drying period, the stain undergoes a chemical reaction with the wood, allowing it to bond effectively. It is crucial to give the stain enough time to dry and cure properly before applying any further coatings or using the cabinets.
The drying time can vary depending on the factors such as humidity, temperature, and the type of stain used. It is essential to follow the manufacturer’s instructions for the specific stain product you are using, as they may provide more precise guidelines.
Should You Put Something on The Cabinets After Staining Them?
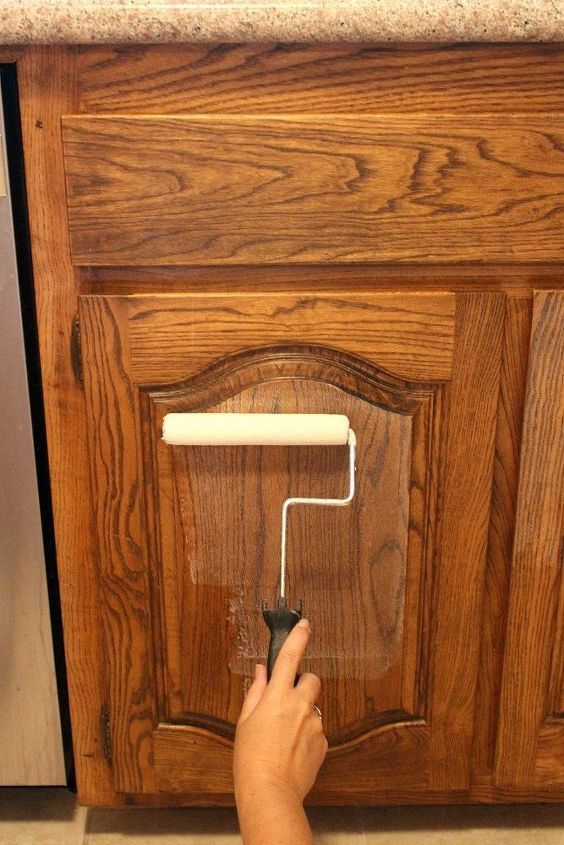
Yes, It is recommended to apply a protective finish after staining oak cabinets. Once the stain has dried and cured, the protective finish acts as a barrier to shield the wood and the stain from potential damage. It also enhances the durability and longevity of your newly stained cabinet.
Cabinet stain protector also creates a smooth surface that is easier to clean, moisture, and everyday wear and tear. The protective finish also adds a subtle sheen or gloss and enhances the appearance of your cabinets.
Choose a protective finish by considering the factors such as the level of durability you desire, the sheen level (matte, satin, or glossy), and the compatibility with the stain you use.
Water-Based or Oil-Based Stains on Oak Cabinets
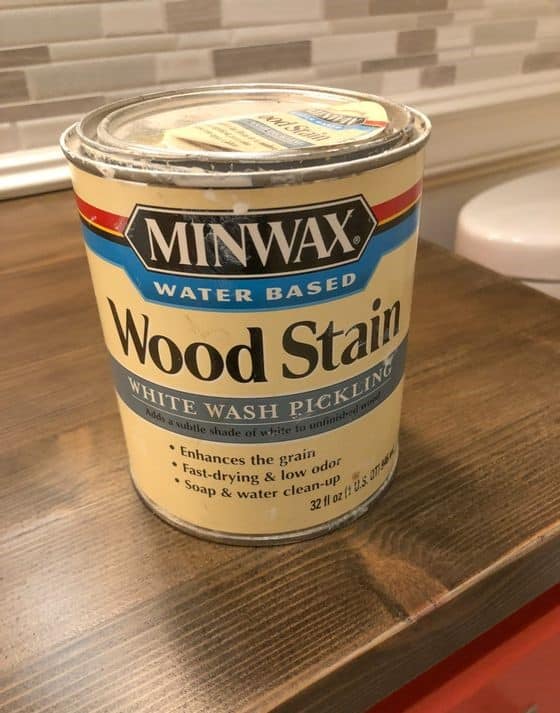
You can use both water-based and oil-based stains while staining oak wood cabinets. Each type of stain has its own characteristic and advantages, so the choice ultimately depends on your preferences and specific project requirements.
Water-based stains are popular for their quick drying time and ease of cleanup. They are low in odor and emit fewer fumes, making them more user-friendly, especially in indoor settings. Water-based stains are available in a wide range of colors and offer good color consistency. They are also less likely to change the natural color of the oak wood.
On the other hand, oil-based stains provide richer and deeper colors, enhancing the natural beauty of oak cabinets. They have a longer work time, allowing for more control during application. Oil-based stains penetrate the wood more deeply, resulting in a more pronounced grain pattern and a warmer overlook.
Conclusion
Now that you know everything about staining oak cabinets, it must be a fun and doable project that you should be able to tackle with confidence. All you’ve to remember is that preparation is key, so make sure you clean and sand the cabinets properly before starting.
To make sure that you don’t run out of supplies when you’re in the middle of staining those cabinets, it’s important to plan ahead and create a checklist of everything you need based on how many cabinets you want to tackle. This way, you won’t have any last-minute surprises. With a little patience and effort, you’ll have beautiful espresso-finished oak cabinets that you can be proud of.
Grab your supplies, and get started!

