How to DIY a Whitewash Dresser + 13 Whitewash Ideas
When we want to whitewash our furniture, we usually look to hire a professional who can do the job.
But as the world is moving forward, people are more interested in DIY rather than just hiring someone. But why is it important to whitewash furniture? Whitewashing furniture provides a fresh and bright appearance while allowing the natural wood to show through.
Whitewashing any furniture adds a light color making the furniture appear brighter and more visually appealing. Regular paint doesn’t have the properties to highlight the wood grain. Whitewashing allows the natural wood grain of the furniture to glow and show its natural elements. This brings an aesthetic vibe to the furniture as well as to the room.
Whitewashing any furniture provides a relaxed and cozy environment in the room.
How Often Should You Whitewash a Dresser?
It is often the most asked question when it comes to whitewashing dressers. Whitewashing a dresser depends on various factors like wear and tear as well as personal preferences. If the dresser doesn’t show much wear and tear, then there’s no need for whitewashing. But if you still want to provide a fresh look, then you can choose to whitewash the dresser.
What Are the Steps to Follow to DIY Whitewash a Dresser?
- Prepare the furniture: First, take a sandpaper of 100-grit, even out the surface of your dresser, and create a smooth surface for whitewashing. Then seal the raw wood by applying a thin coat of water-based polyurethane using a foam brush. Then leave it to dry.
- Making the Whitewash Paint: You need white latex (water-based) paint and water. The quantity should be two parts paint and one part water to get a light whitewash, and to get a darker one, mix one part paint and one part water. Then mix it properly till it gets combined.
- Test the paint: Before applying, it is important to test the whitewash. Take leftover wood or an unimportant part of the dresser and check the paint’s consistency. This will help you get an idea about the ratio of paint and water used and if you need to add more or not.
- Apply the Whitewash: Now comes the important segment where you start applying the whitewash. You can either use a paintbrush or a roller to apply a thin layer of whitewash evenly. Try to apply in smaller sections and quickly remove the excess paint. Then leave it to dry properly, as it might take several hours or overnight.
- Finishing touches: To apply the finishing touches, add a topcoat to protect it once it is dried. You can use water-based polyurethane to seal the paint to protect it and provide durability. Then you can attach the new hardware on the dresser once the top coat is dried.
Whitewash Dresser Ideas to Elevate Your Space
After learning how to whitewash a dresser properly, let’s now come to the main event. Now we’ll come to know about the different types of whitewash ideas. Let’s get started.
1. Classic Whitewash
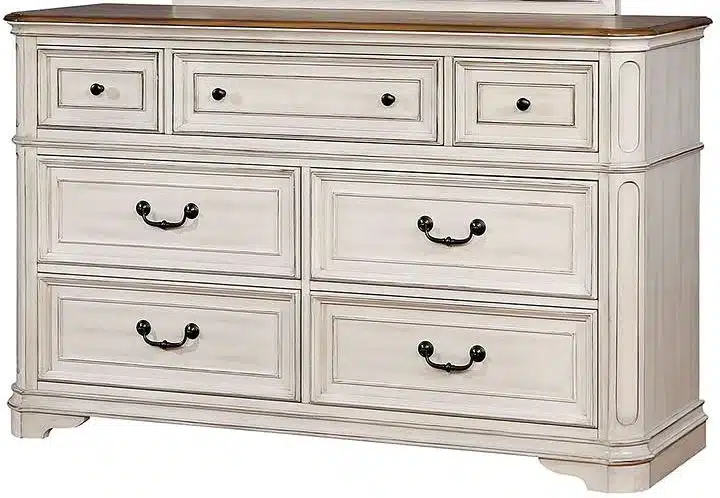
The first idea on the list is the classic whitewash which gives a simple and elegant look to the dresser. It can go easily with any decor of the room and is versatile as it can be applied to any other furniture. To get a light whitewash, you need to have a ratio of 2:1 of paint to water. It is also very budget-friendly compared to other whitewashes and adds a new life to your old dresser. It helps to enhance the whole environment of the room.
2. Distressed Whitewash
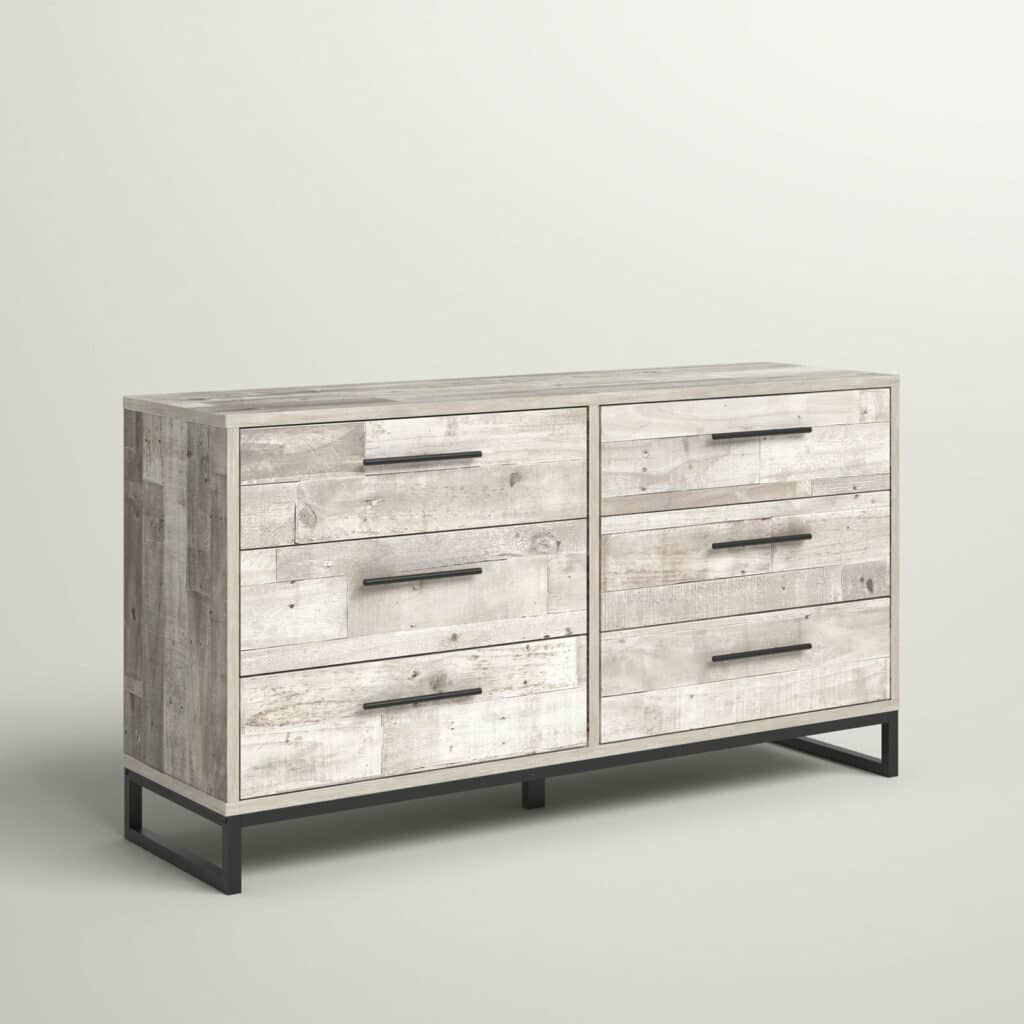
The second idea or technique on the list is called distressed whitewash. It includes the techniques of combined distressing and whitewashing. The final outcome of the process will have a weathered look of distressed furniture with a soft coating of whitewash. This technique includes intentional wear and tear of the surface of a dresser by the sandpaper.
With this, the underlying wood is exposed, which speaks a lot about the person owning it. It symbolizes individuality as it stands out from the crowd.
3. Stenciled Whitewash
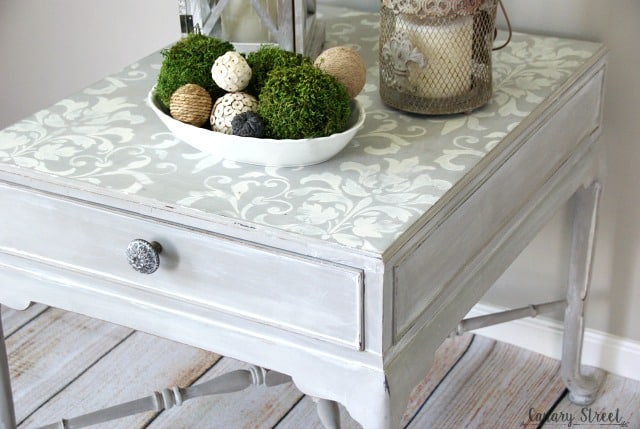
As the name suggests, the stenciled whitewash includes the technique of using a stencil to whitewash a dresser to give new patterns. The paint used is usually a diluted white paint or a specialized whitewashing product. With a stencil, you can add your personalized design and style to the dresser.
You can even customize the color by adding a tint or using a different shade of paint. Lastly, stenciled whitewash is budget-friendly, and instead of buying a new dresser, you can easily whitewash it.
4. Shabby Chic Whitewash
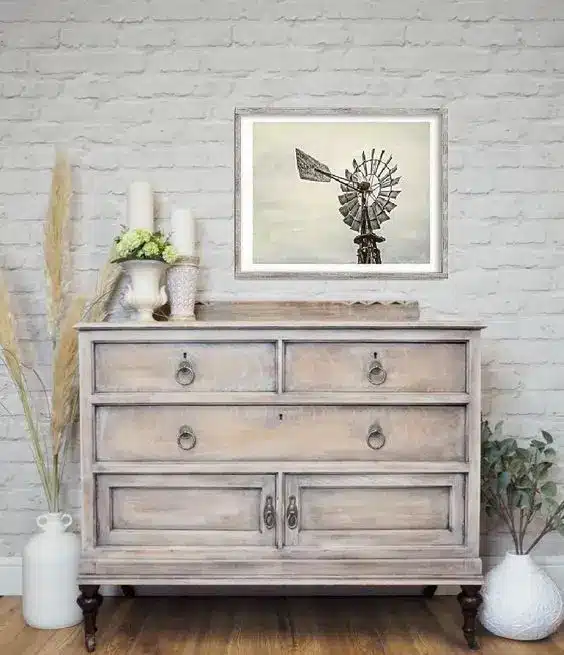
This technique is applied to the dresser to create a worn and weathered appearance. The paint is usually applied unevenly, allowing some of the surface to show, giving it an aged look. The ratio of the Shabby Chic Whitewash is 3:1 of paint to water.
It adds a vintage and romantic charm to your dresser as well as to the room. It is also a versatile style as it complements different interior styles and can be applied to any furniture
5. Two-Tone Whitewash
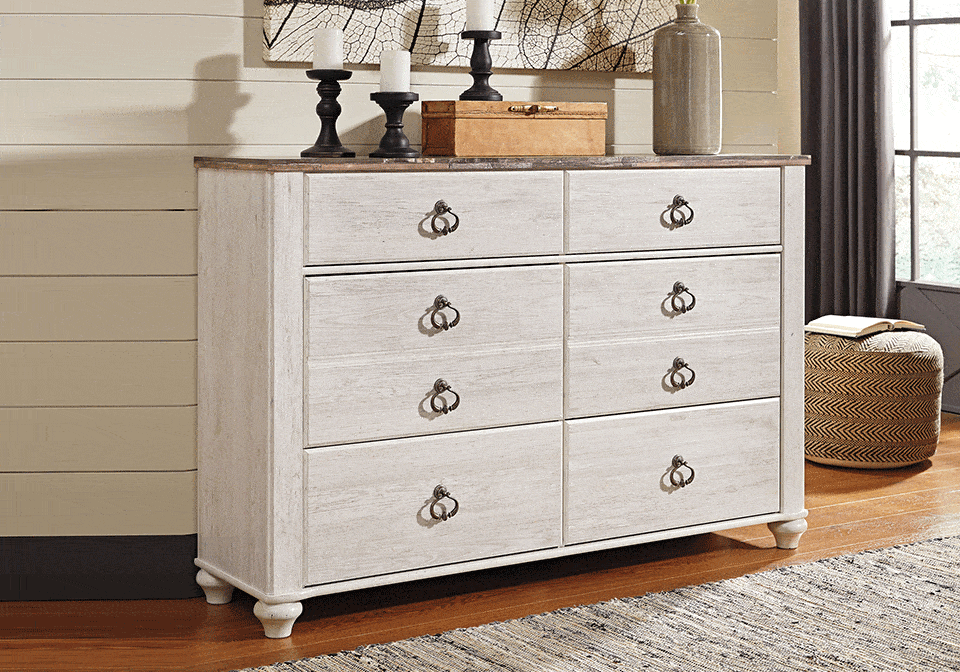
In this technique, two different colors are used to whitewash the dresser’s surface. Usually, the colors are of the same shades or family. The first color is the base coat, and on top of it, the second color is applied. Having two different colors on a dresser adds uniqueness and visual interest. It also provides an eye-catching effect to the dresser, which steals the limelight of the room. Both the colors combined add texture and depth to the dresser.
6. Vintage Whitewash
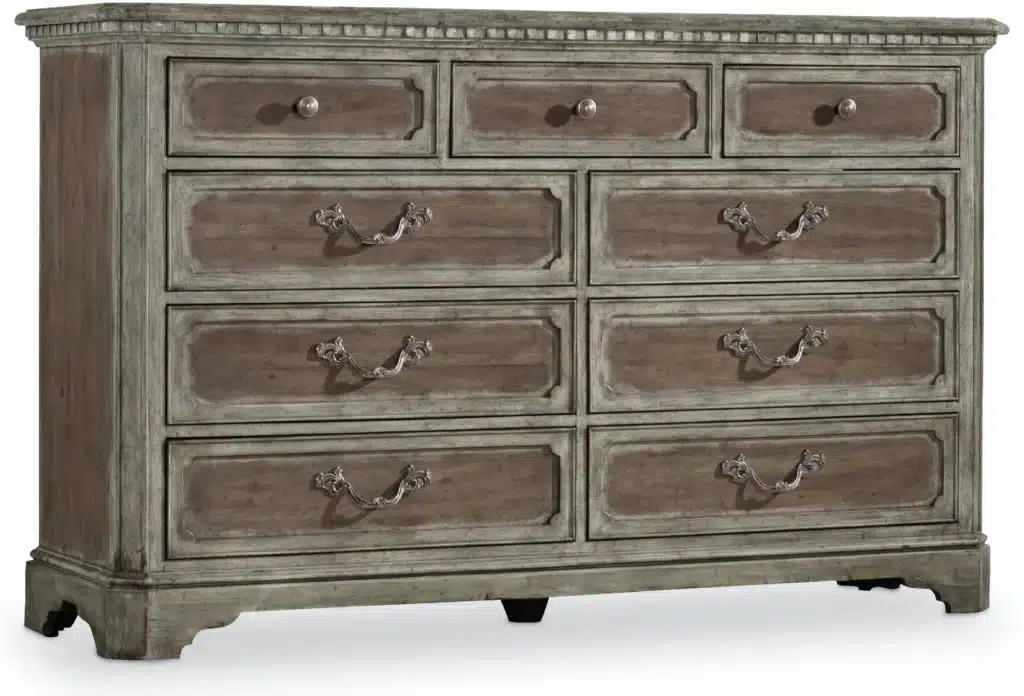
If you are someone who likes a vintage look on his furniture, then the vintage whitewash will be perfect for you. The technique usually aims to create a worn and weathered look and is applied unevenly so that the wood grain can be shown properly. The vintage whitewash provides a timeless look and easily adds character and personality to any space. This look mimics the effects of time and adds some depth and texture to the dresser.
7.Beachy Whitewash
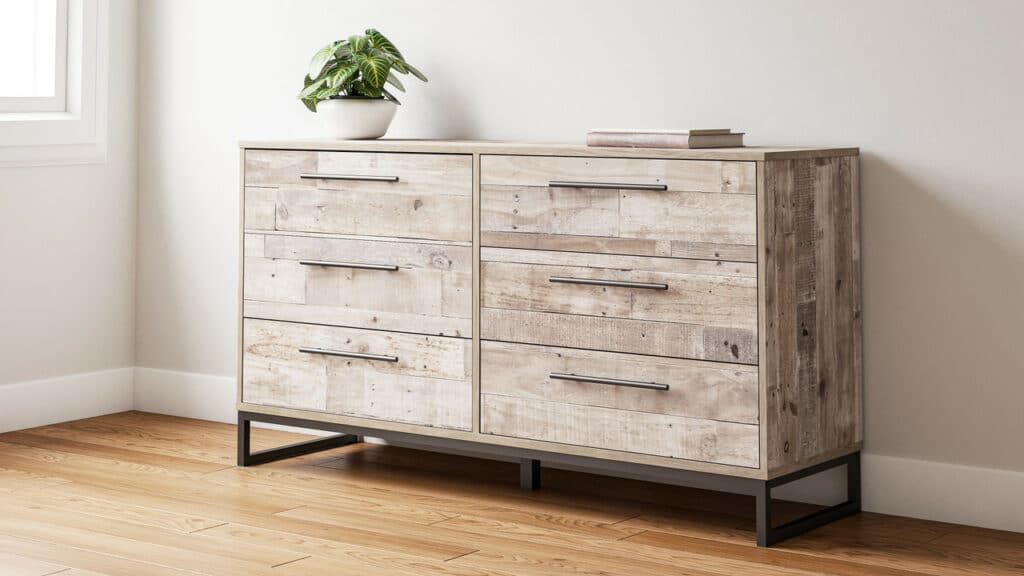
The beachy whitewash provides a coastal and beachy vibe to the dresser as well as the environment. So, if you are someone who loves coastal areas or has grown around them, then this is a perfect idea for you. With the help of this technique, a rustic charm is given to the dresser. The whitewash finish brightens up the dresser making the room more airy and spacious.
This whitewash is very versatile as it can easily go with any decor. And as you know, a beach contributes to a soothing and relaxed environment, and having that style of whitewash will definitely keep you relaxed.
8. Rustic Whitewash
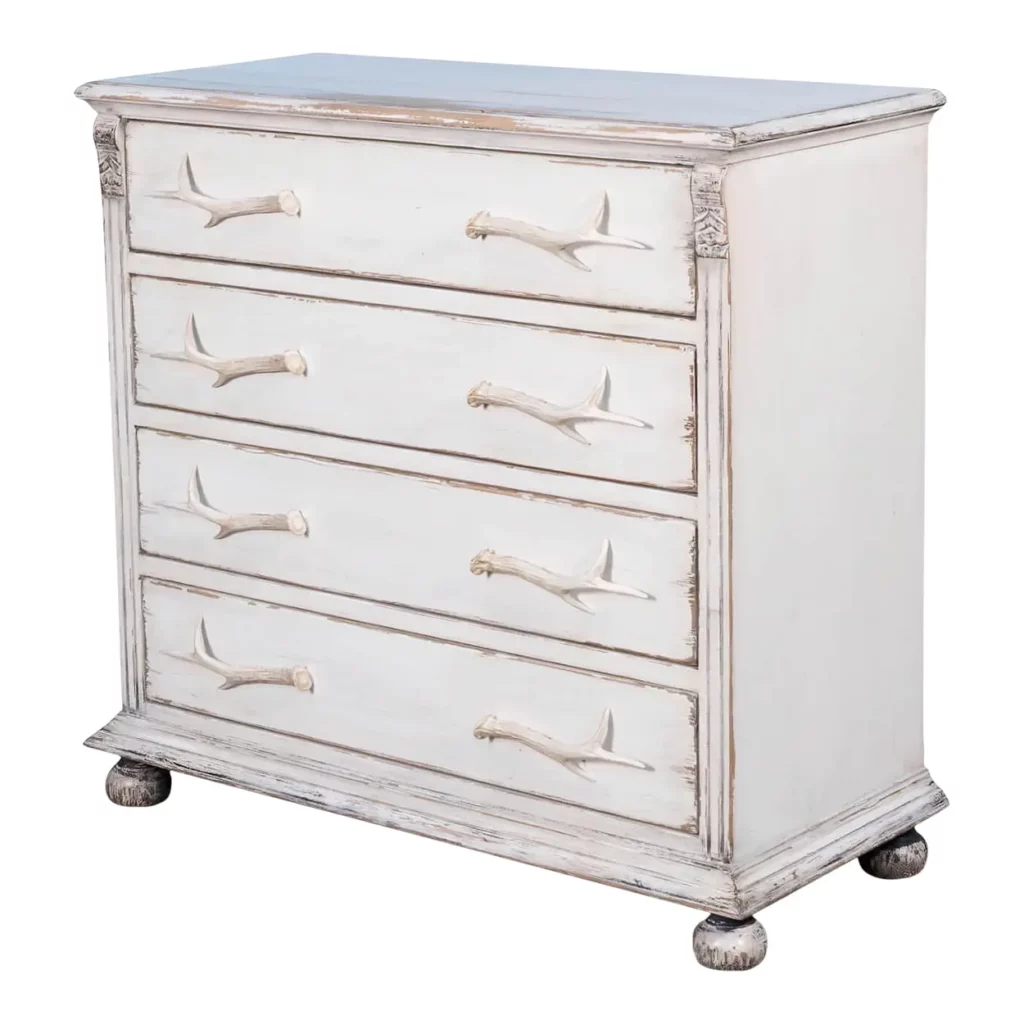
A rustic whitewash will be perfect for the ones who want farmhouse decor. Having a rustic whitewash speaks a lot of history about the dresser as it adds a historic vibe to the room. It is also a versatile color as it can go with any decor like a farmhouse, cottage, etc. In this technique, the paint is used unevenly, which creates texture and depth to the dresser. It is very easy to maintain and looks better with wear and tear.
9. Industrial Whitewash
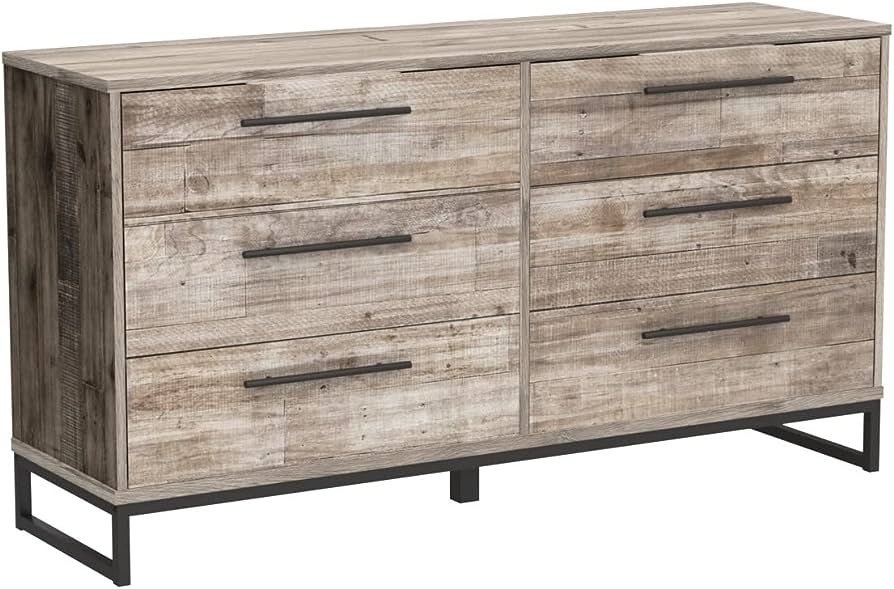
This technique brings an industrial design aesthetic to the dresser. In this technique, you have to apply translucent white paint to the surface of the dresser, which allows the natural wood to show and give an aged appearance. This creates a unique and aesthetic vibe to the dresser as well as the room. The style is very versatile, as it can gel with any interior design.
The combination of both whitewash and industrial design creates an eclectic and balanced look. Because of the technique, it enhances the texture and depth of the dresser.
10. Tropical Whitewash
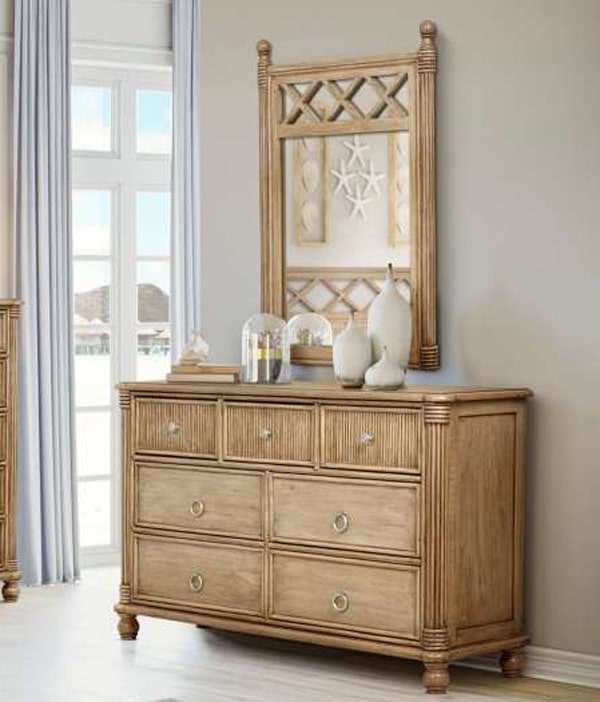
This is one of the most popular techniques as it creates a light, airy, and coastal-inspired look to the dresser. It provides a fresh and updated appearance to the old and worn-out dresser. With its touch of brightness, it evokes a beachy atmosphere and creates a relaxing environment. Using the tropical whitewash is a simple DIY project and only requires some basic tools.
It is also customizable, which gives you the full freedom to adjust the intensity of the whitewash according to your needs.
11. Modern Whitewash
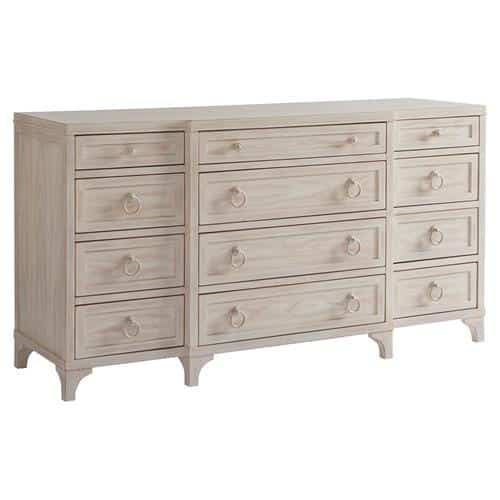
A modern whitewash stands up to its name and creates a clean, sleek, and sophisticated appearance. In this technique, a translucent white finish is applied, allowing the natural texture and grain of the wood to show. With its light-colored finish, it adds brightness to the dresser as well as to the room.
Because of the brightness, it makes the room more airy and spacious. It also is a very versatile style and can adapt to any trend with its timeless quality.
12. Contemporary Whitewash

A contemporary whitewash follows the technique of applying white or light-colored paint, which gives a fresh and sleek appearance. Contemporary whitewash is similar to modern whitewash as it gives a modern and stylish appearance to the room. Because of its brightness, it gives a more airy and spacious atmosphere.
It is also very easy to coordinate with other furniture as well as the decor of the room. Lastly, this whitewash makes sure that the original wood grain is showcased on the surface.
13. Eclectic Whitewash
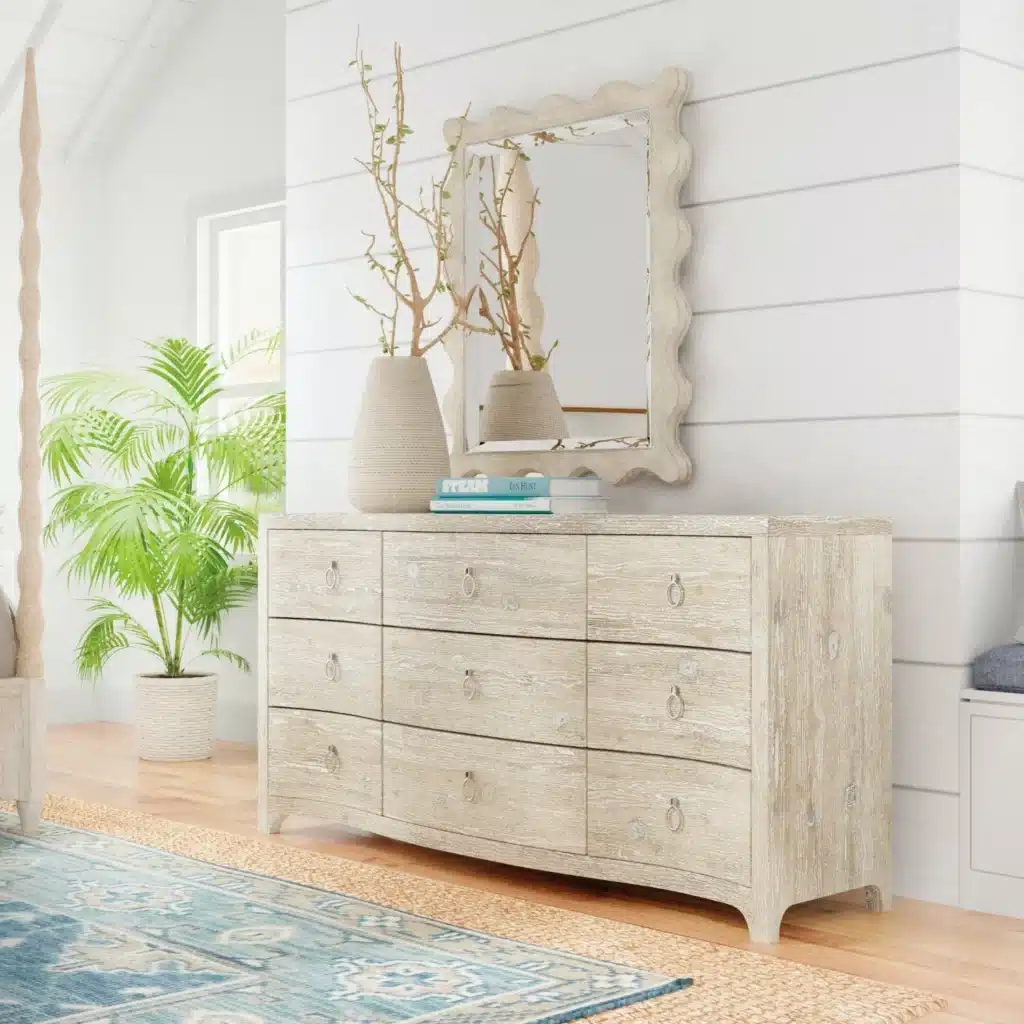
In the eclectic whitewash, white or any light-colored paint is used, which gives a unique and artistic look to the dresser. The technique used is basically dry-brushing, layering, distressing, and creating different shades and patterns. With this technique, you can easily add depth and texture to the dresser, which also gives a personalized and artistic touch.
This style blends with any decor, whether it’s bohemian, farmhouse, or even modern.
Conclusion
Keeping the furniture looking new is an important task as it determines the whole atmosphere of your house. You don’t want to live in a house where the furniture is worn out and looks old, especially a dresser. With the help of whitewashing, you can make any furniture look new, which will uplift the whole environment of the room.
After thorough research, I came across the 13 best ideas for whitewashing a dresser which gives you options to select your own idea. This will give you the option to be more creative and select your personalized whitewash that can fit perfectly with the decor of your room.
And lastly, whitewashing is a DIY project which can be easily done by anyone, and I’ve written above the steps to follow.

