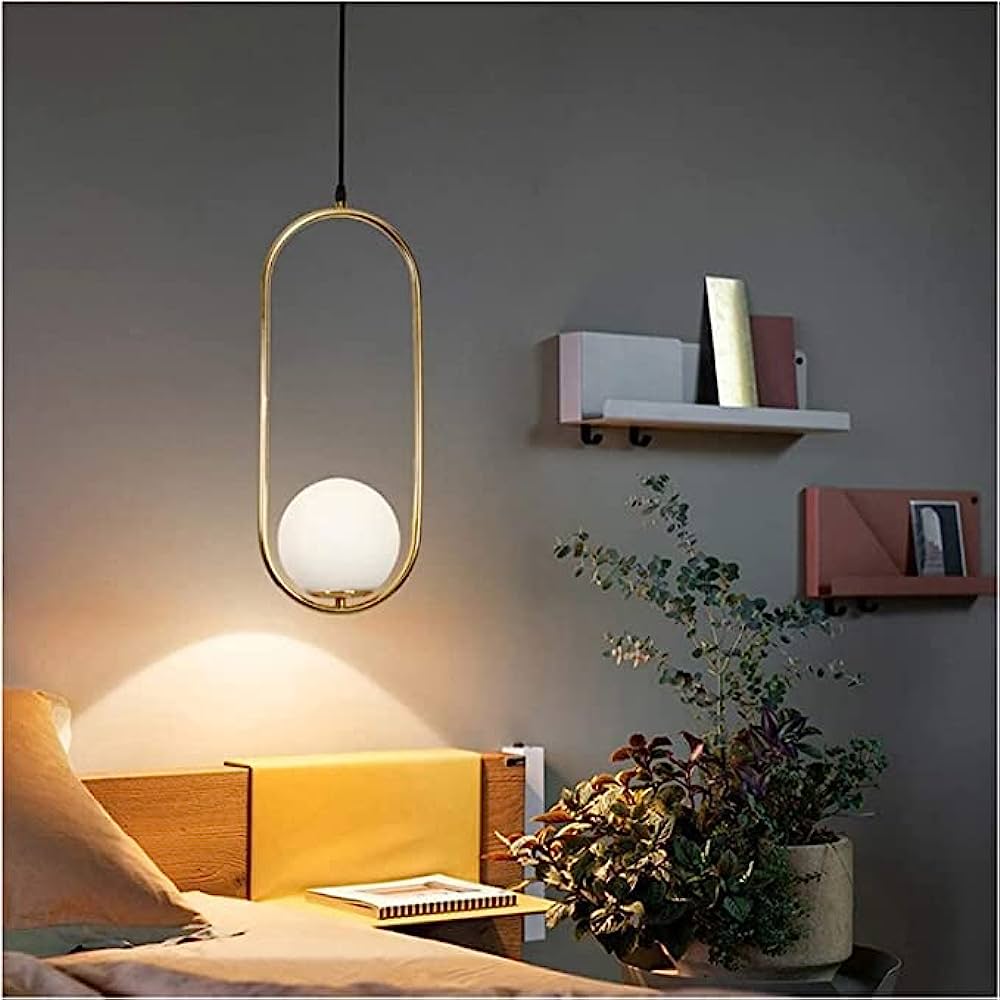
Easy to Follow DIY Hanging Bedroom Light Ideas
The world of the internet has opened up a whole new landscape of possibilities. In the good old days, DIY projects were just the norm as a way of getting things done without spending all your money on it. Soon, everything could be store-bought and offered pretty aesthetics. However, the wheels of time turn, and the old styles become a trend yet again.
We now live in a world of social media where DIY crafts are making the comeback they deserve. Are you looking to start a cool summer DIY project of your own? Learn how to hang bedroom lights all by yourself and completely transform the aesthetic of your home, your room, and your study.
The next question that pops up in your mind must be ‘Is it difficult to DIY your own hanging bedroom light?” The answer is Yes. Making DIY hanging bedroom lights may seem tough considering the requirement for electrical fixtures, drilling, fixing it up, etc.
Therefore it is best to ensure you have a complete step-by-step process in place to make sure you create the best DIY hanging lights for your home.
Here’s a step-by-step guide to making your very own DIY hanging bedroom lights for our home.
1. Use Thrifting
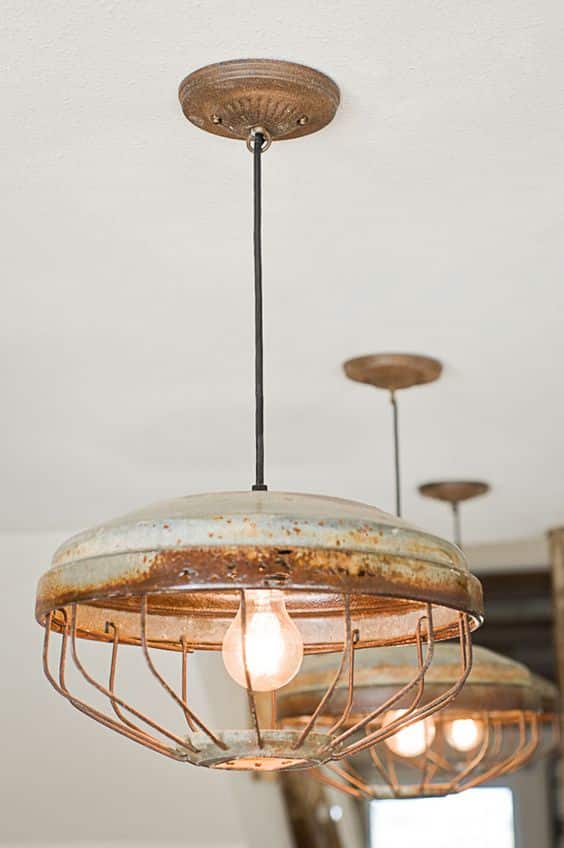
While DIY kits are great, you can take this challenge a notch higher by opting for a more do-it-yourself kind of task. For this, you can start by getting your hands on any thrifted lamp. This is especially useful because you can upcycle all the materials required for setting up your electrical fixture; this includes the wires, the plates, the chains to hang, spare screws, and more.
You could also use other elements that you find interesting and find a way to incorporate them into your final hanging lights project.
If you can get a bonus working bulb, that’s perfect because that just adds to the charm of a good old DIY project while, of course, saving you a quick buck.
2. Get Your Supplies in Order
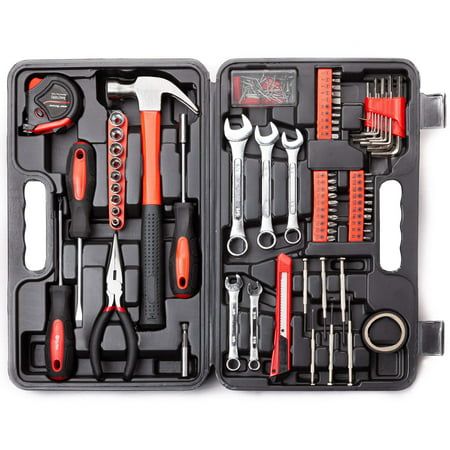
Before you start your project, make sure you have everything you need in one place. If you end up looking for your tools mid-project, it not only takes longer but it discourages you from getting back to your project. This just adds to the list of one more DIY project left halfway through. Here’s a list of things you will need for your DIY hanging bedroom lights project
- Old Light fixture( including hooks, chain, etc.)
- U-Bolt
- Working condition light fixture setup
- Wires
- Tape measure
- Wrench
- Drill
- Extension Cord
3. Get the Lights Working
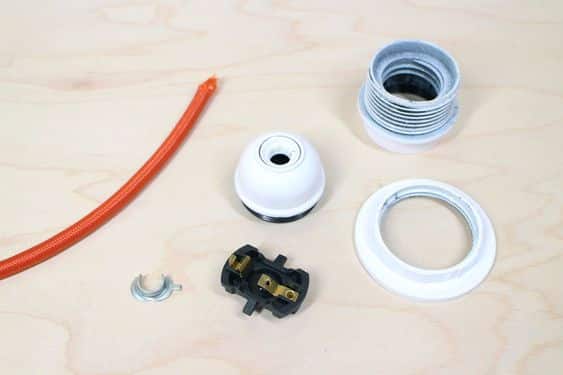
The only way to make this project a successful one is actually to have a light that works. Therefore, setting up your light to come into the perfect working condition is very important. For this, use the old light fixture and check if it works. If the wires are in good condition, you can fix them up with your bulb. If the old bulb is obsolete, look for new ones or older thrifted ones and make it a good upcycled setup.
Choose the tone of light you are going for at this stage. You can always replace the bulb with any shade of light you want. Generally, hanging bedroom lights are used for a more warm, cozy, and comfortable type of setup.
Whatever parts of this apparatus don’t use, save it up for your next project. Make sure you keep the top plates used to fix into the wall and the part that fixes into the lamp carefully.
Getting your wiring right by attaching it to the inner portion of the fixture where the bulb goes. Then attach a bulb to check if you have nailed your wiring right.
4. Get the U Bolt in Place
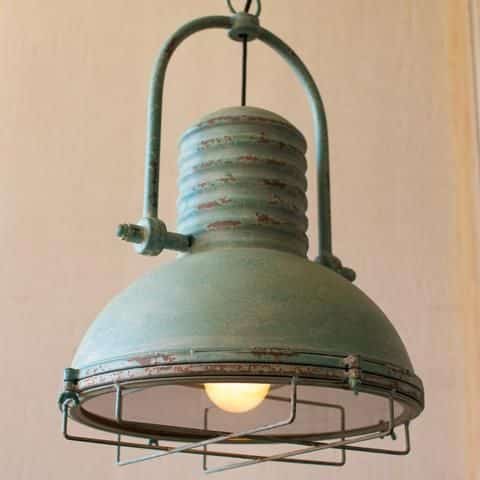
You can use any form of a mounting bracket or U-Bolt fixture to work on your DIY project. For this, you need to screw down the U-Bolt with the panel that gets attached to the hanging section (chain/ rope). Bolt the screw tight in and ensure it is fastened properly. Use fender washers to ensure that it is attached to the mounting bar properly. The next step is to attach the U-Bolt to the old lighting fixture panel. This is now your new light panel.
5. Prepare The Ceiling Setup
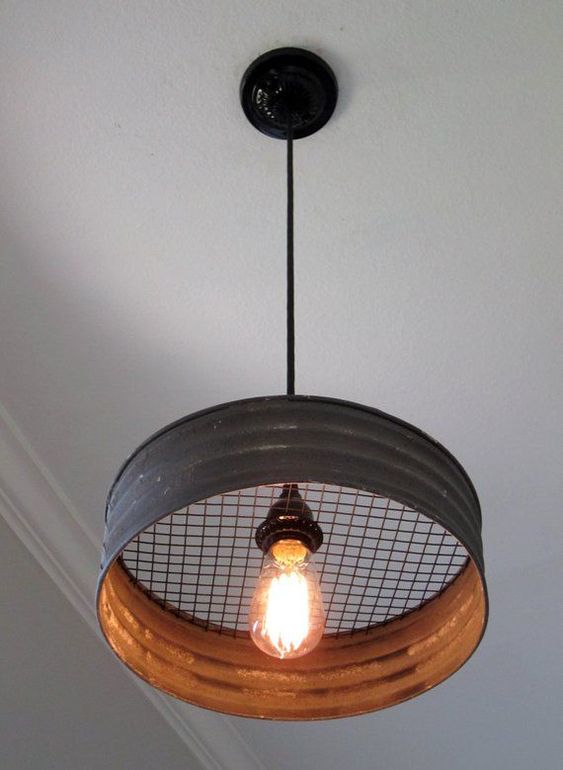
Once everything is in place, ensure that your ceiling fixture that contains the wires is all set and working. This is where the wired end of your lamp setup goes. Generally, you may have a ceiling slot in place. And all it needs is fixing it up.
6. Get Your Extension Cords Ready
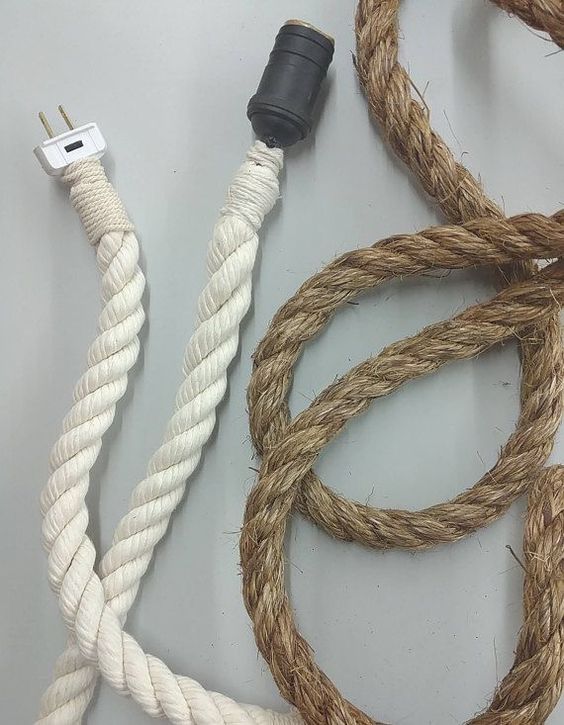
In order to get the hanging lights set up, you need to have a good length of extension cord ready to wire one end of the lamp. Set this close to your chain hanger. Cut off both ends and use one end of this extension cord and use it to get your wiring done for the new lamp. Fix up the extension cord through the lamp apparatus and get ready to attach it to the ceiling electrical setup.
7. DIY The Actual Lamp

This is the step where your actual DIY prowess comes into play; this can be done in a multitude of ways. You can use embroidery thread lights, jute thread lights, or cane lights, depending on how you want to DIY this. Let’s get into some great DIY lamp ideas that are easy to do.
DIY Lamp Ideas to Explore
1. Plastic Spoon Lamp
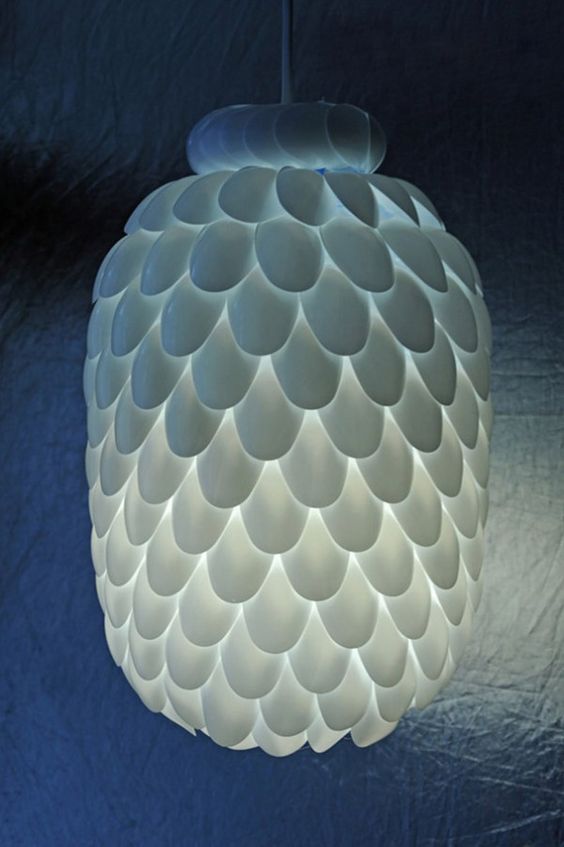
Are you looking to make the best out of waste? There’s nothing as noble as plastic recycling when it comes to upcycling projects. Choose an empty plastic container, either a bottle or a bucket. This can be decided on the basis of the size you are looking for. Once done, you can cut the handle of the disposable plastic spoons you have.
The spoon portion of the apparatus can then be stuck on the container one by one in a concentric pattern. You can even choose to color these spoons into a hue of colors to give a unique, desirable look.
2. Tetra Box Recycled Lamp

This is a stunning lamp idea that gives the most beautiful and mesmerizing look upon lighting up. Cut your waste tetra packet into strips. Fold each strip into small triangles. Once done, place these triangles together as a hexagon or pentagon shape and glue them together. Once done, blow up a balloon or any other round deflating object, such as a ball in the center, and glue the pentagon around it.
What you finally have is a beautiful circular lamp with a geometric pattern. Once the bulb is attached and lights up, the whole room gloves up in these stunning geometric shadows that are tranquil to look at.
3. Hat Lamps
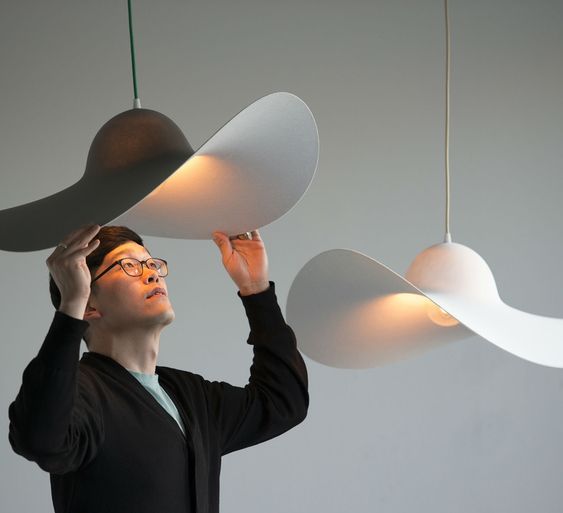
Wondering what to do with your old hats that hold meaning to you? You can now make DIY hanging lights out of these. The best part is that there is almost 0% work required to do with her lamps. This looks even better if you have those stylish netted jute beach-styled hats. It reflects light in the most stunning and mesmerizing way.
You can use the hats as it is, which makes it a great lamp choice. The best part is that hats are washable. Hence you can dismantle them anytime you look, wash and dry them, and put them back as required. They will always look as good as new in no time.
4. Doily Paper Lamp Idea
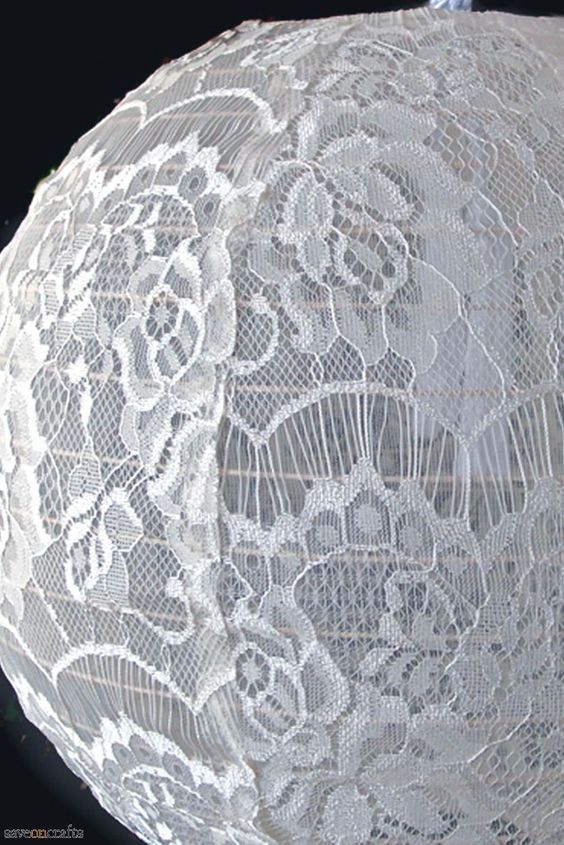
If your heart is stuck on having the most beautiful, heartwarming, stunning lamp idea, then choose the doily paper lamp idea. Buy or recycle old doily papers lying around your home. Use the balloon idea once again. Blow up a balloon or a call to a size that you like. Carefully stick doily papers around the lamp as desired.
Once the glue has completely dried, just take the balloon to deflate it. You can also put in a mixture of glue with flour and brush it carefully over the doily without filling up the intricate designs. Upon drying, this mixture hardens, thus making for a durable, sturdy hanging light.
5. Silverware Done Right
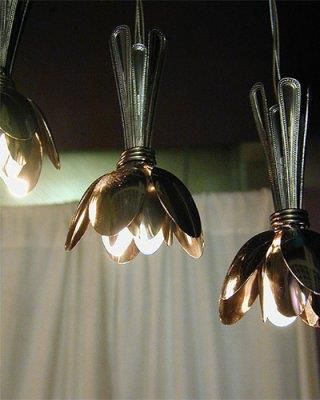
Looking at having a more contemporary-styled lamp set up? How about mixing and matching silver spoons and forks to create aesthetic lamps? Now choose this simple and unique DIY idea to make your contemporary home look stunning. You can just gather all the spoons in a bunch and place them in a concentric pattern, leaving enough space in between to push in the wire for the bulb and space for the bulb
They use pliers to bend the ‘spoon’ section of the spoon or form outwards to give a flower-like appearance. Alternatively, you can also choose any specific shape, like a circle or rectangle, and stick spoons on it. Add in the lighting apparatus, and you are good to go.
6. Cane Lamp
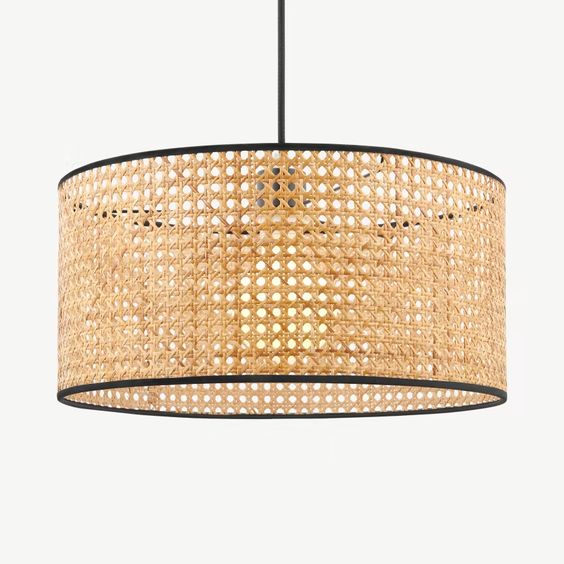
Use old, used-up cane baskets and either place them one on top of another or in a unique shape to get the desired effect. This is once again a low-effort setup that gives you unique results, looks aesthetic, and is easy to follow through. You can paint these lamps in stunning colors, such as neon yellow, blue, green, etc., to give this a more contemporary and modern look.
7. The String Lamp
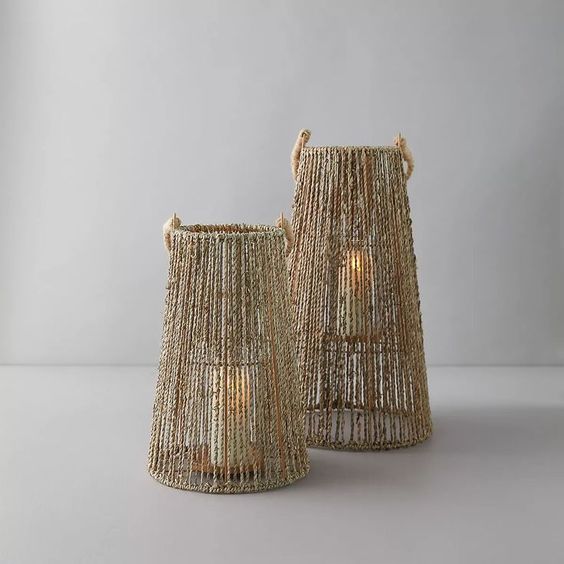
Balloons and hanging lights DIY always go together. Now try working out these DIY hanging bedroom lights using threadwork. Take a big balloon and then use rubber bands or threads carefully around it in random patterns. Again, you can use a combination of flour and glue all over the balloon, followed by the desired threadwork.
Put another coat of the glue and flour mixture and let it dry. Upon complete drying, you can then deflate the balloon. The entire setup hardens up and is ready for some paintwork. You can paint this in beautiful colors and make your home look stunning. This can be painted in colors that complement your home.
8. Bottle Hanging Lights
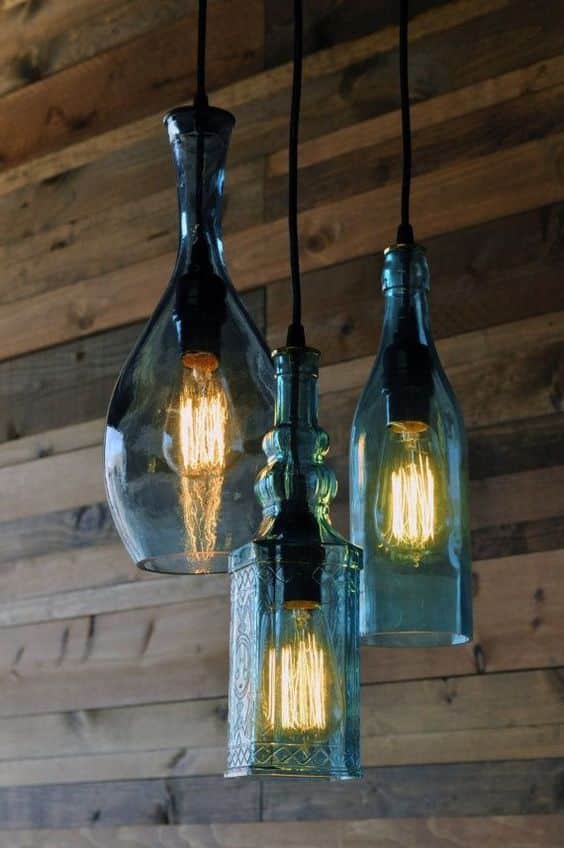
This is yet another stellar idea in the list of low-effort DIY hanging lights preparation. Use your old pretty wine bottles and turn them into hanging lights. Colored bottles make for the most mesmerizing-looking hanging lights. A simple and aesthetic concept like this one goes a long way in elevating your home. You can also use acrylic paints to paint the bottles or make them look stunning.
9. DIY Stick Lamps
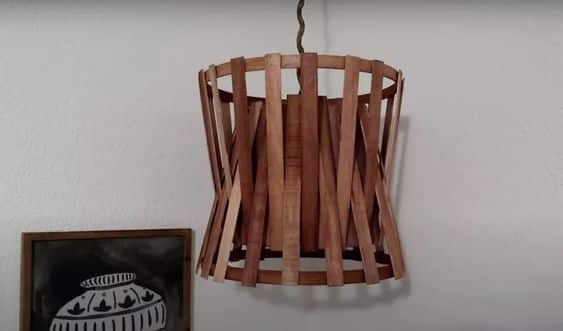
Love collecting old ice cream sticks? Here’s a great way to make DIY hanging bedroom lights using these ice cream sticks. You can use two rings to make the top and bottom of the lampshade. Now stick these sticks in unique designs or shapes as per your desire. This can be done as a zig-zag pattern, criss-cross pattern, straight pattern, and more.
You can choose to keep this in a monochrome pattern or make it bright, bold, and colorful. Place the bulb in between and experience the stunning, pleasing look at patterns that form.
Conclusion
DIY projects are a great way to engage yourself in a side project or hobby that makes you feel elated. It gives you a sense of purpose and fulfillment. Start with simple projects such as DIY hanging bedroom lights and take it a notch higher with your own creativity and edge. You can decide the level of creativity or autonomy you want on the project, depending on your skills. For instance, you can use DIY kits for the electrical setup if you’re not comfortable doing them yourself.
Or you can take the help of a licensed electrician for the electrical setup while you DIY the rest of it. Use these simple DIY hanging lights ideas and transform your home into a DIY hub!
Frequently Asked Questions
How to Hang Lights without Wiring?
You can choose to use battery-operated lights for your home. For this, either get battery-operated bulbs or get fairly lights that are battery-operated and place them inside your desired DIY hanging lamp.
How Do You Hang Pendant Lights?
You need to remove your old lighting fixture from the wiring using the right tools. Mark your wires for the next attachment. Install your mounting bracket and adjust the height for your pendant light. Attach the wires as per your requirement. Close the fixture up safely and then test the lights.

