
The Ultimate Guide to Framing a Basement Wall
Small mistakes can cost heavily, especially when it comes to messing up on the basics. If you want to revamp and overhaul your basement area, then the quality of work of how you frame a basement wall is crucial. Ill-managed basement framing jobs are an expensive mistake that will keep costing you until you rectify or rework it. Therefore, getting into the nitty gritty of framing your basement wall is crucial to the long-term success of your basement.
In order to fix up good walls, insulation and ready up your space for renovation, figure out your basement framework. A sturdy, resilient, and decor-appropriate basement frame wall is the fundamental step toward a long-lasting basement set-up. How you frame up your basement wall depends on where you stay, the weather conditions, and many more factors.
Let’s get into the basics of framing a basement wall for your next DIY project.
Here are some handy tips you need to know about!
1. Wall Preparation

Before you start with any work on framing a basement wall, prepping the wall of it is an essential step. For this, you can first start by cleaning it all up. Follow this up with a good sealing solution. This is the most important step as it prevents leakage of water that may be caused due to any capillary action. If there is a big source of leakage, you need to do a more intensive waterproofing process which requires professional assistance.
Using a good waterproofing solution and applying it as a base coat by rolling it over the wall will give long-lasting results. Ensure you give ample time for the waterproofing solution to dry off.
2. Foam Board it

Once you are done with waterproofing and it has dried up, it’s time to install the foam board. This is a crucial step to ensure your basement stays well-insulated across a myriad of weather conditions. For this, you can choose to use an extruded polystyrene foam board insulation product. Pick a product that has moisture-resistant properties.
One common mistake in DIY projects is that people often forget to use the right adhesive. Normal adhesives may be too damaging for the foam board. Use foam board-specific adhesives for this purpose.
It is best practice to apply this chosen adhesive along the length of the wall. Make sure you apply a complete uninterrupted line of adhesive from the top of the wall near the ceiling to the very bottom. Good adhesion completely depends on how well this step is done. Tape down the seams well, as it prevents any warmth from the room from getting behind the foam, which may result in condensate formation due to cool concrete. An added bonus tip is to caulk the lower portion after the foam installation, thus ensuring a complete seal.
3. Joisting it Right

In order to have a sturdy basement frame, a good ceiling joisting is important. Add blocking to these ceiling joints, which are needed to attach the top wall. Now screw down nails on one side through the joist and fix it up to the other side. Make sure you treat any lumber that is expected to come in direct contact with concrete walls. Braces can be installed before the insulation of the rim joist. Ideally, you can place blocks every 2ft apart.
4. Pre-Drill the Studs

To simplify things, it is best to pre-drill your studs. You can keep space for the electric wires to run through in a hassle-free manner. Ideally, holes can be at a distance of 24″ from the bottom.
5. Leveling it Well

It is common practice to level your studs and the framing apparatus before it’s all fixed. Therefore, you can use a 6ft leveler to start your leveling job. However, since these may be too short to accurately measure, stick in a 2 ft leveler attached to the 6ft one and measure well. Using a good quality leveler is important for your project.
6. Mind the Distance

Studs are generally placed about 16″ apart as a thumb rule. This is because the insulation is generally 16″ in width. Additionally, the drywall is about 48″. Any miscalculation here could become an installation nightmare in no time. It is advised to first calculate your 16′ on the floor. Make your markings 3/4th of an inch before the 16″ mark so that you can place one corner of the stud exactly on the line mark. Thus having an equidistant line marking.
7. Pressure Treat The Wood

Concrete is generally porous by nature. Wood that comes in direct contact with concrete can rot pretty quickly. However, pressure-treated wood is different from normal wood. Pressure-treated wood is more resistant to rots even though it absorbs water. Pressure-treated woods are believed to resist rots for up to 40 years. Making a small but smart choice of the kind of wood you choose can be a game-changer in the longevity of your home. Naturally durable wood such as redwood and cedar are great choices.
8. Mind the Obstructions

A basement is naturally a place where there are way too many obstructions that you might predict. Therefore, first, note down all the obstructions, and take accurate measurements before you set it all up. Going stud by stud could be a good choice, with several pipes and vents strewn across the basement. Especially if you have too many pipes, inlets, or outlets going in and out of your basement. If there are electric panels, increase the distance of the frame from the wall.
Make sure there is enough space to reach these panels for future use, almost like a closet. Always make small slots or cuttings to make provisions for plumbing pipes that may run across different areas in the basement.
9. Floor Assembly of The Wall
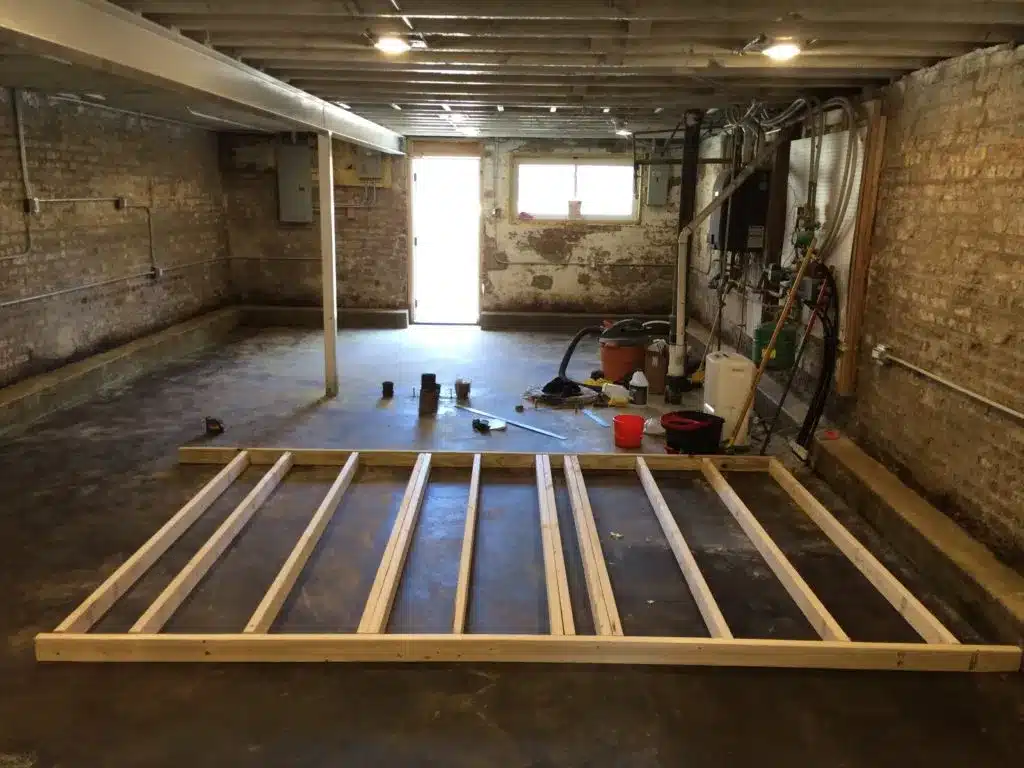
Different schools of thought have different ways of assembling the frame. However, floor assembly gives ample flexibility and freedom to do it precisely. It is good practice to first mark the crown area for every student; this is a slightly curved section on the narrow side of the board. Make sure all the crowns are faced in the right direction; if not, it could end up looking unaligned.
10. Lift it Up

Generally, place the bottom plate against the wall and the sway or life up the other corner and hammer it into place. When done right, the wall should easily fit in tight with a good hammer tug. However, if the joists are loose, or there are ducts on the ceiling, it is ideal first to fix up the top part and then hammer in the bottom, thus making the task easier.
Always ensure you have help during this section. If there is just one person, make sure that the wall is light enough to be lifted by one person, or else it could result in injuries. Another way would be to build slightly smaller sections and keep fixing them into place.
11. Using Powder Actuated Gun for Nailing the Bottom

Using a more sturdy and hardcore nail for the bottom is important to fix the frame well into the floor. Therefore, use a powder-actuated gun to nail the wall’s bottom seamlessly into the floor. In this case, use precautions such as wearing your protective gear, including ear muffs, as this equipment is relatively loud. This equipment is generally used for hardcore construction projects as a nail gun for hard surfaces.
12. Drywall Backers

When working on framing a basement wall, you must note that the drywall set-up will be the next step. Often, people do not have enough drywall backers in tricky areas such as corners, intersections, and perpendicular ridges that can support the drywall. Therefore, always set up extra dry walls during the framing stage so that the next step becomes a hassle-free process.
General Points to Note While Framing a Basement Wall
During framing, processing, or after installation, as a thumb rule, ensure any and all untreated wood doesn’t come in touch with the concrete. While good quality studs are great, moisture can still dampen the wood. Therefore only pressure-treated wood must be used.
- Your lumber is an investment you make for a durable long-term basement wall. Therefore, ensure you invest in good-quality lumber. It’s worth the money you put in.
- Design your frame wall in a way that the studs do not come in contact with the wall in any case. It must be noted that the stud wall around the room does not come in contact with the wall as the wall is expected to condense the moisture.
- People often make the mistake of using plastic sheeting on the inside of the basement. However, concrete allows moisture movement; therefore, a plastic sheet only entraps the moisture inside, which may result in rotting and mold.
- Before you get anything started, managing your leakage issues should be your number one priority. Wall cracks, when not managed on time, could be a source of leakage. Therefore repair any wall cracks around the basement and inside to improve the durability of your basement wall.
Conclusion
Your basement can be a high utility space when it is designed well. For this, it first needs a solid foundation of a sturdy frame. Using these simple tips and hacks, you can start framing a basement wall without any hassle. It can be done easily by one or two people and is a great DIY project for your home.
Don’t let leaky, stinky basements become a way of life. Use your basement as your workspace, mancave, gaming den, and more. A good frame forms the basis of your entire basement; therefore, framing it well is essential to its longevity.
Once the framing is done, you can explore ways to drywall it, design it, and more. It’s time to get your tools out and get started on your framing project.
Frequently Asked Questions
How to Start Framing Your Basement Wall?
To get started, you can start by laying out the top plate, followed by the bottom plate. Make sure these are pressure-treated lumber to ensure durability. Follow these by carefully placing them in the wall studs and creating your board.
Can I Frame My Basement Myself?
If you have some construction or woodwork experience, it is a job that can be done yourself. However, this might be a fairly challenging project for a complete beginner, especially because framing is extremely critical to a sturdy basement renovation.


