DIY Refrigerator Cabinets: A Complete Guide
Looking for a guide for building refrigerator cabinets? If so, we believe that you are on a mission to refurbish or declutter your home. Refrigerators are an integral part of a home, and it is important to keep the space looking clean and inviting.
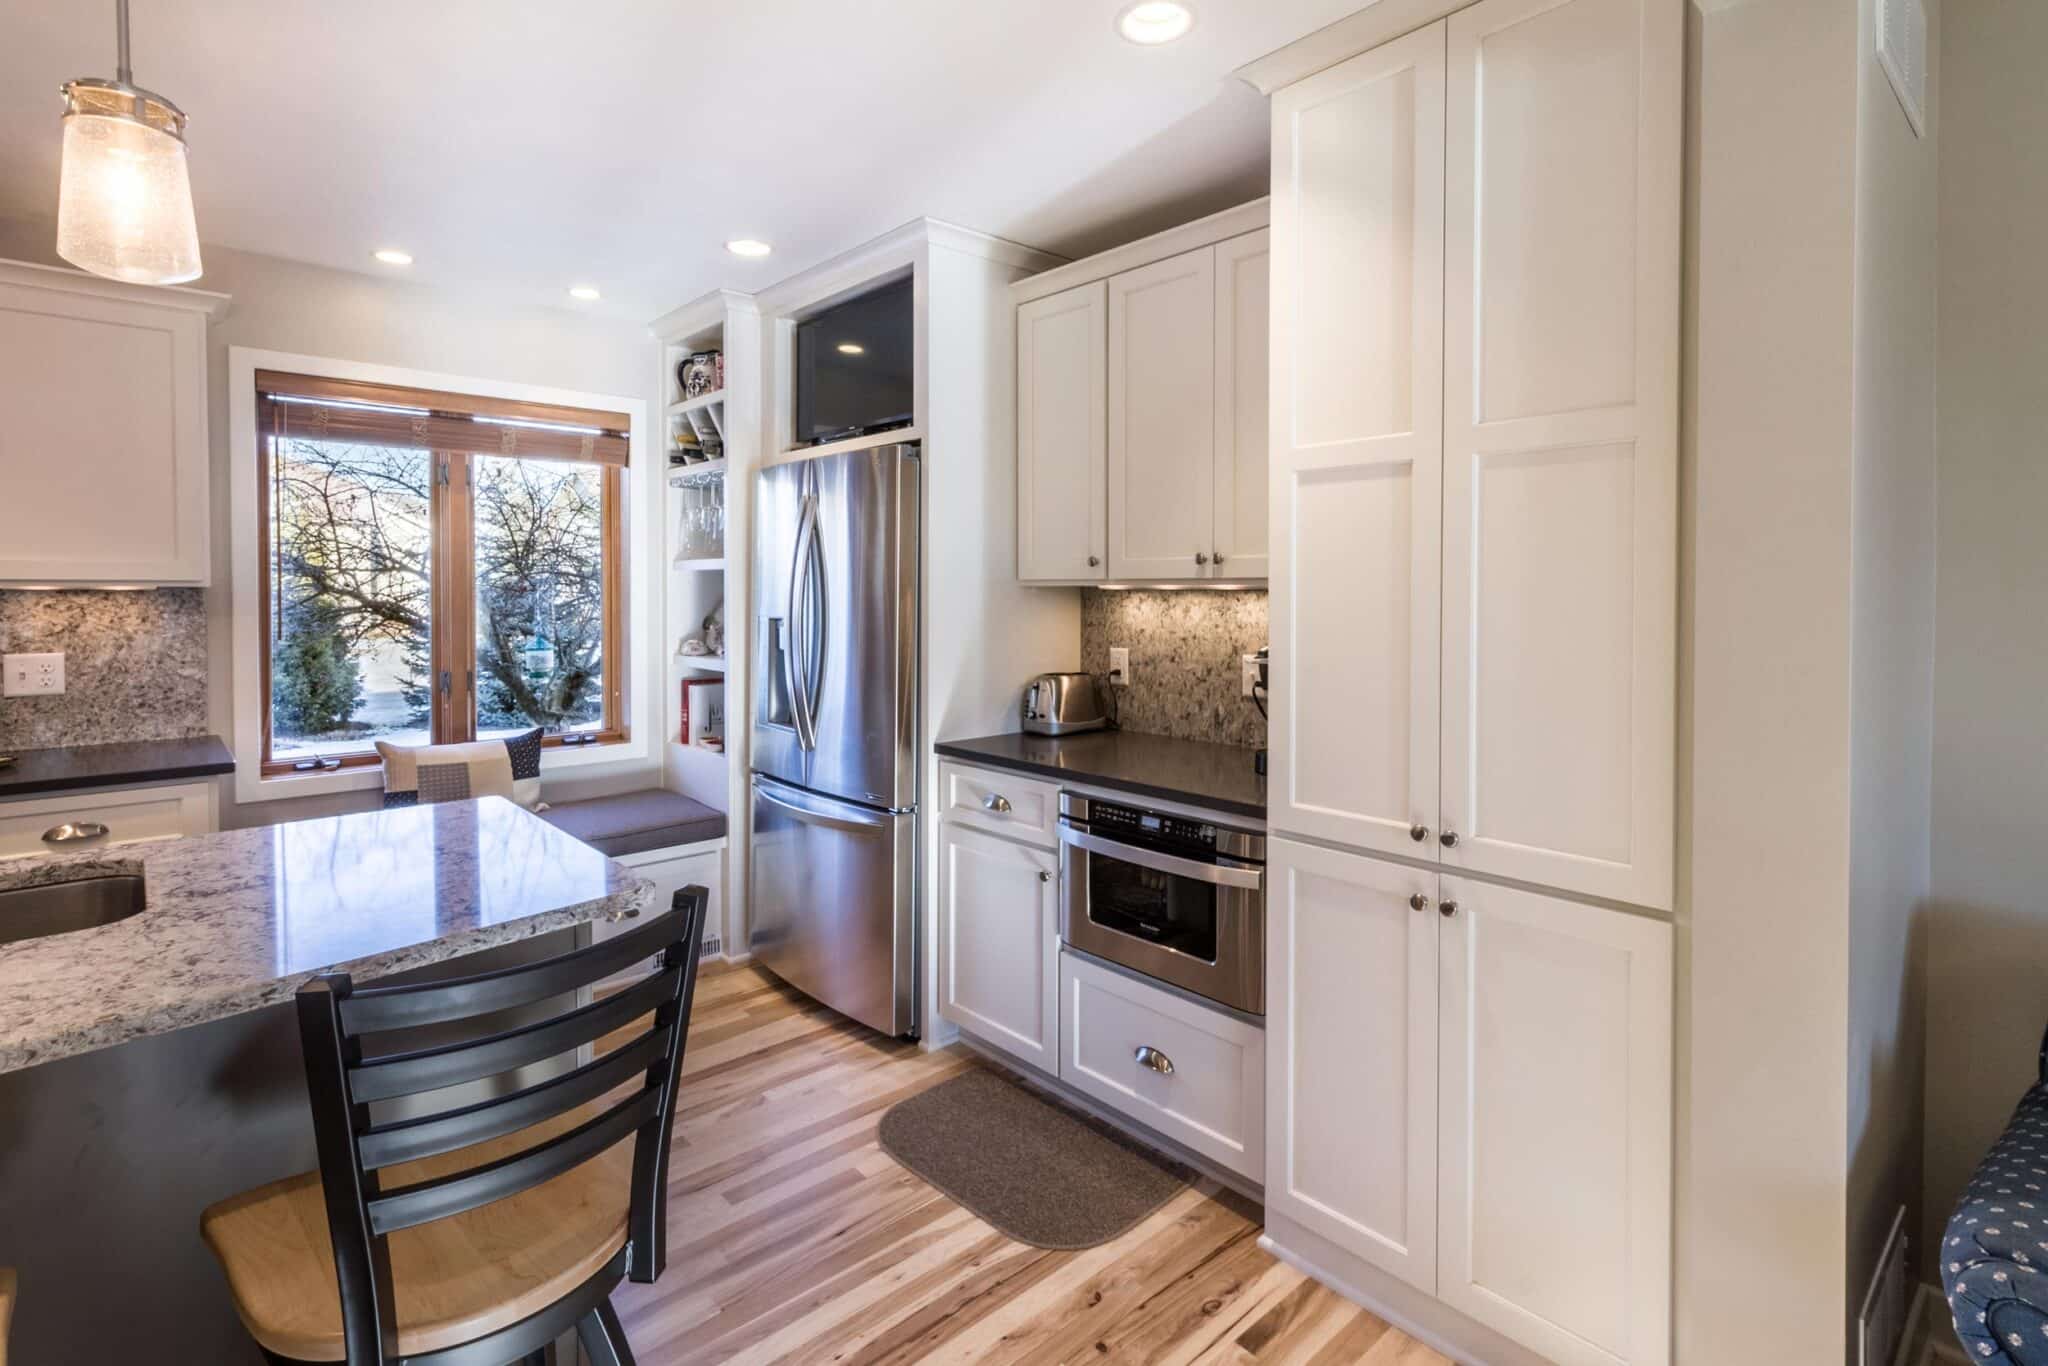
One of the best ways to keep your refrigerator looking blended into the room is to build refrigerator cabinets. Refrigerator cabinets make a refrigerator look more neatly placed, thereby making the room look organized.
In this article, we will see how to build the perfect refrigerator cabinet for your home. We will also be listing all the required mechanics to install the cabinet from scratch.
Building Refrigerator Cabinets
There is no need to frown when looking at your unevenly placed, cluttered refrigerator. Building a cabin to surround your refrigerator will make not only your refrigerator but the entire room neat and perfect. The best part about refrigerator cabinets is that you don’t have to spend a lot of money to get one. It is not a difficult task to make the perfect cabinet for your refrigerator. We will list out the steps that are required to DIY a refrigerator cabin for your home. Before getting into the process, there are certain things to be considered, including the required items to build a cabinet.
As far as the expenses are concerned, even though you are a beginner, it will be worth to DIY a refrigerator cabinet. The investment in mechanics to build a refrigerator cabinet will be a one-time one as the materials and tools can be used in the future too.
Materials Required
Make sure to get all the items listed below, as they are required for building refrigerator cabinets:
- Saws
- Orbital Sander
- Pocket Holes Creator
- Nail Gun
- Drill
- Caulk Gun
- Painting Equipment
- Safety Glasses and Mask
Now that you are ready with all the necessary equipment, we can start with the steps of making a suitable cabin for your refrigerator.
Step 1: Taking Measures
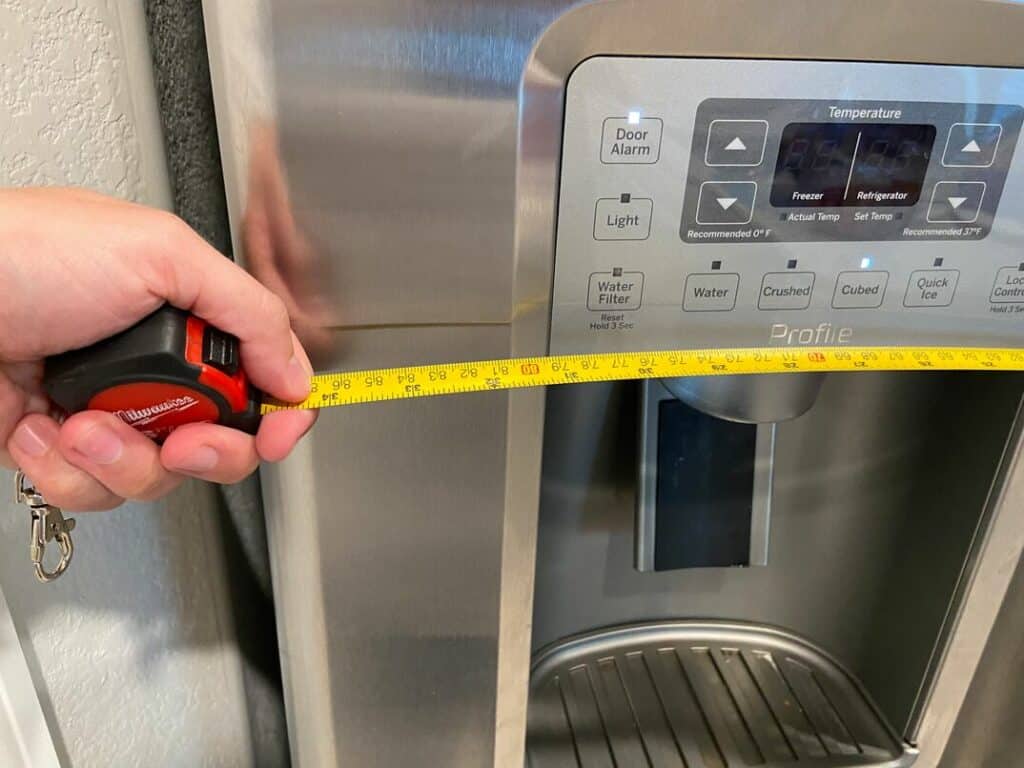
This is the first and most basic step to begin the process of building refrigerator cabinets. If the measurement goes wrong, all your efforts will be in vain. Hence, it is very important to know how much space your refrigerator might require to be surrounded by a cabin. Three kinds of measurements should be taken for this: length, depth, and height.
Measure the width of your fridge first for the cabinet. Make sure to leave at least 4″ of space to place a 1-12″ trim around the cabinet layers. To make it more clear, let us assume that you have a refrigerator with a width of 32″. If you are using trim boards of size 1-12″, you will need a space of 36″ in total.
Step 2: Make a Plan
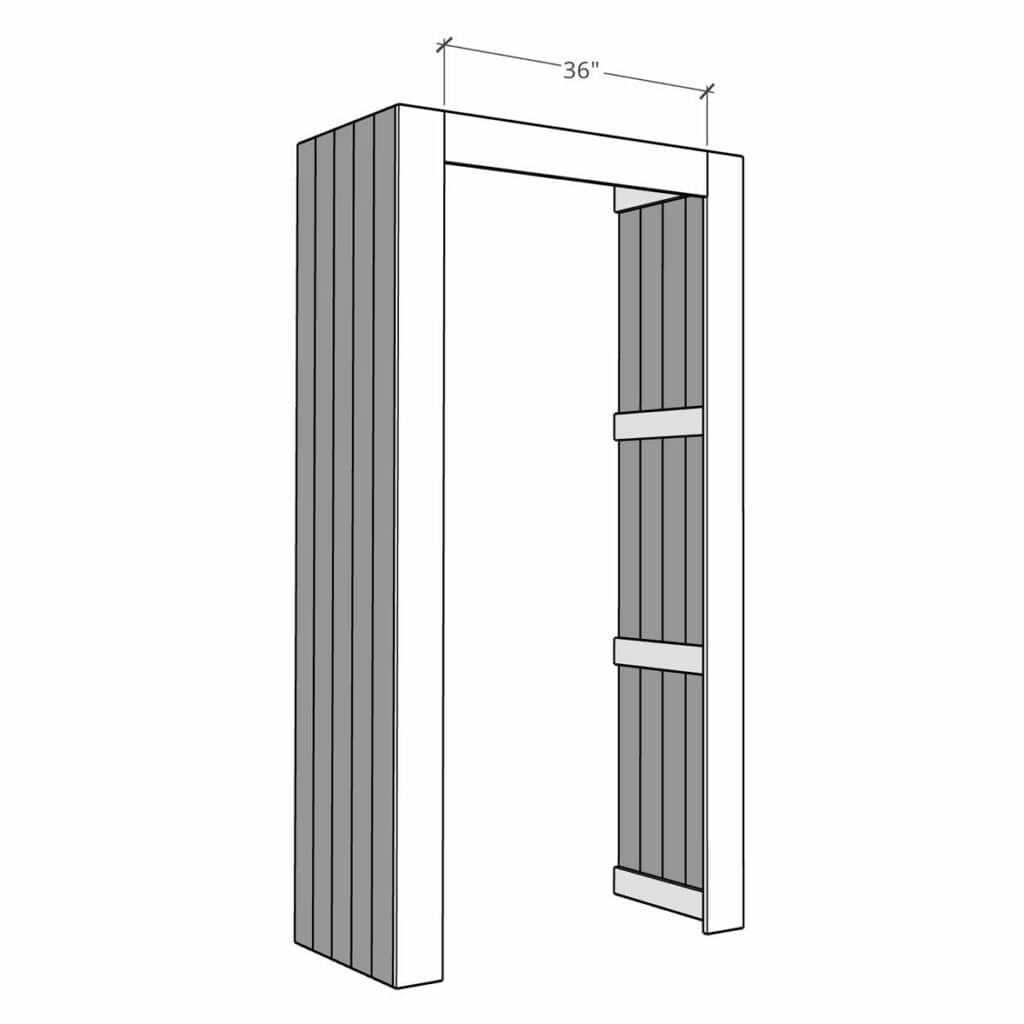
It is important to make a plan before creating a cabinet for your refrigerator. Making sure that your refrigerator has enough space inside the cabinet is important, as air flow must be easy for the refrigerator. We will walk you through some ground rules to be followed while making a cabinet plan for your refrigerator.
Make sure that the refrigerator is placed at least 2 inches away from the wall. Also, the top of the cabinet must be an inch away from the refrigerator. When it comes to the sides of the refrigerator, make sure to leave a 12-inch gap between the panel and the refrigerator. This position will allow an ample amount of airflow in the cabinet.
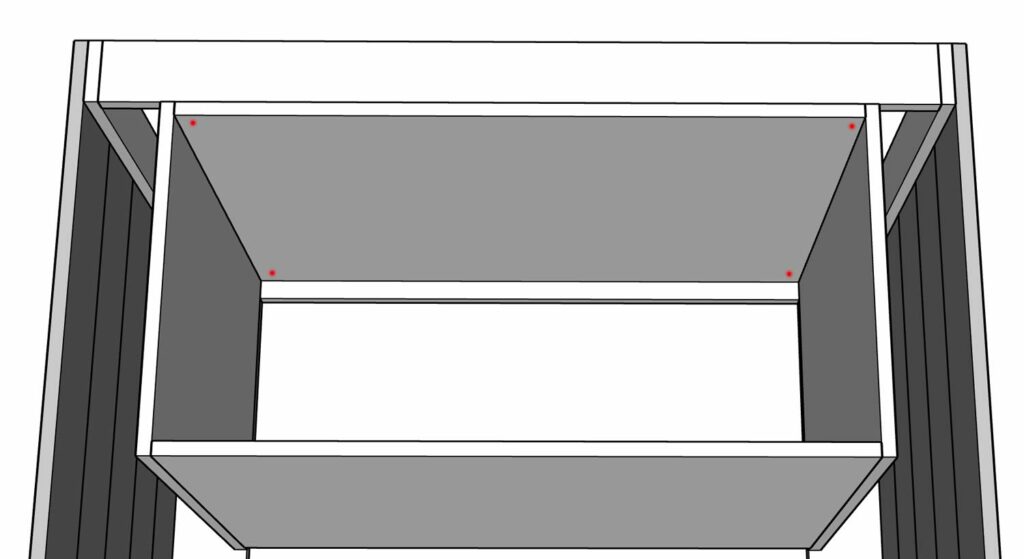
You will have to plan the size of the cabinet layers on each side of the refrigerator up to the top part. To determine the size of the upper portion of the cabinet surface, you will have first to determine the size of the panels that will go on the refrigerator’s sides. While getting this measurement, make sure to measure from the door all the way to its side. Add 2 inches to this obtained value. By doing so, the overall size of the cabinet will allow you to open and close the door fully without blocking it.
To give a clear idea regarding measuring the width of the upper base of the cabinet along with the total surrounding area, just add 2-12″ to the total width of the refrigerator.
Once you have all these measurements, you can move on to the second step of the process.
Step 3: Prepare for Cutting the Parts
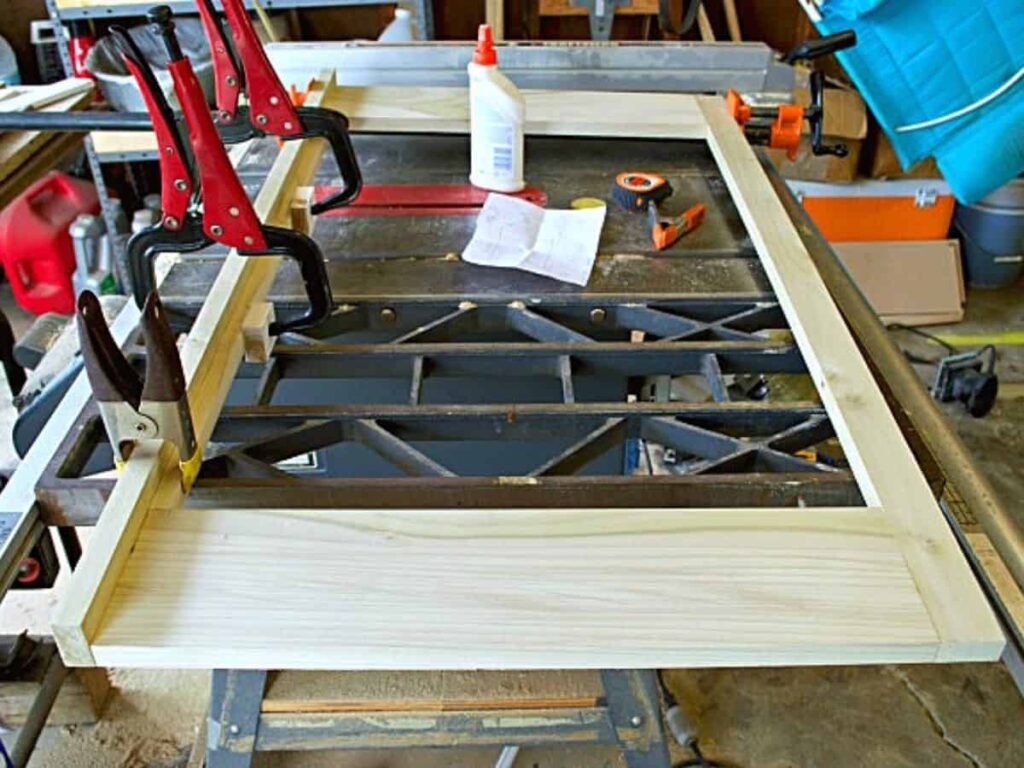
One of the important things to note while making DIY refrigerator cabinets is that each part of the cabinet slabs will require a different kind of cutting. Hence, it is important to analyze and understand how each part of the cabinet should be cut first. This step will help you make sure you have the measurements right. Placing the right cuts and checking the fit of the cabinets will reduce a lot of after-work.
Right planning makes perfect results—in this case, perfect refrigerator cabinets. Once these measurements are double-checked, start creating cutting diagrams for the plywood sheets and trim boards. Cutting diagrams will help you know exactly how many sheets of plywood and trim boards you will require and where to make each and every cut.
While making the cutting diagram, you can start with the biggest piece of plywood sheet and then go all the way to the smallest part of the cabinet required.
Once this is ready, you can start actually cutting all the pieces as per the plan.
Step 4: Cut All the Parts to Make the Cabin
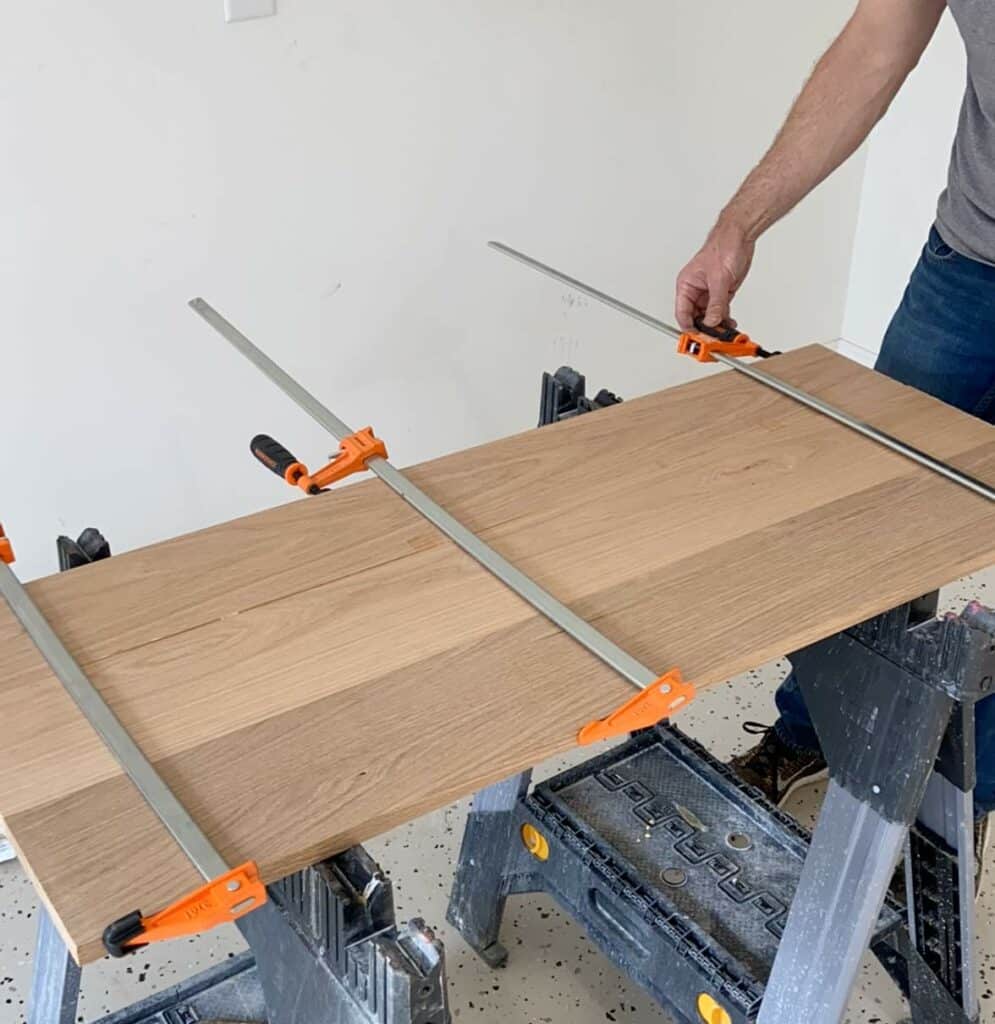
Use the detailed cutting diagram to cut the sheets of plywood properly. Stay focused on cutting the trim boards, as this can be done later. While cutting the plywood, you can consider adding pockets to the edges of the cut sheets to place them in a fixed manner.
Once all the parts of the plywood are cut, you can now start cutting the trim board. Cutting the trim boards after finishing cutting the plywood will let you make precise cuts and use only the amount of trim board that is necessary and not more. After this, you can use sandpaper and an orbital sander to sand the pieces of plywood.
Step 5: Assembling the Parts
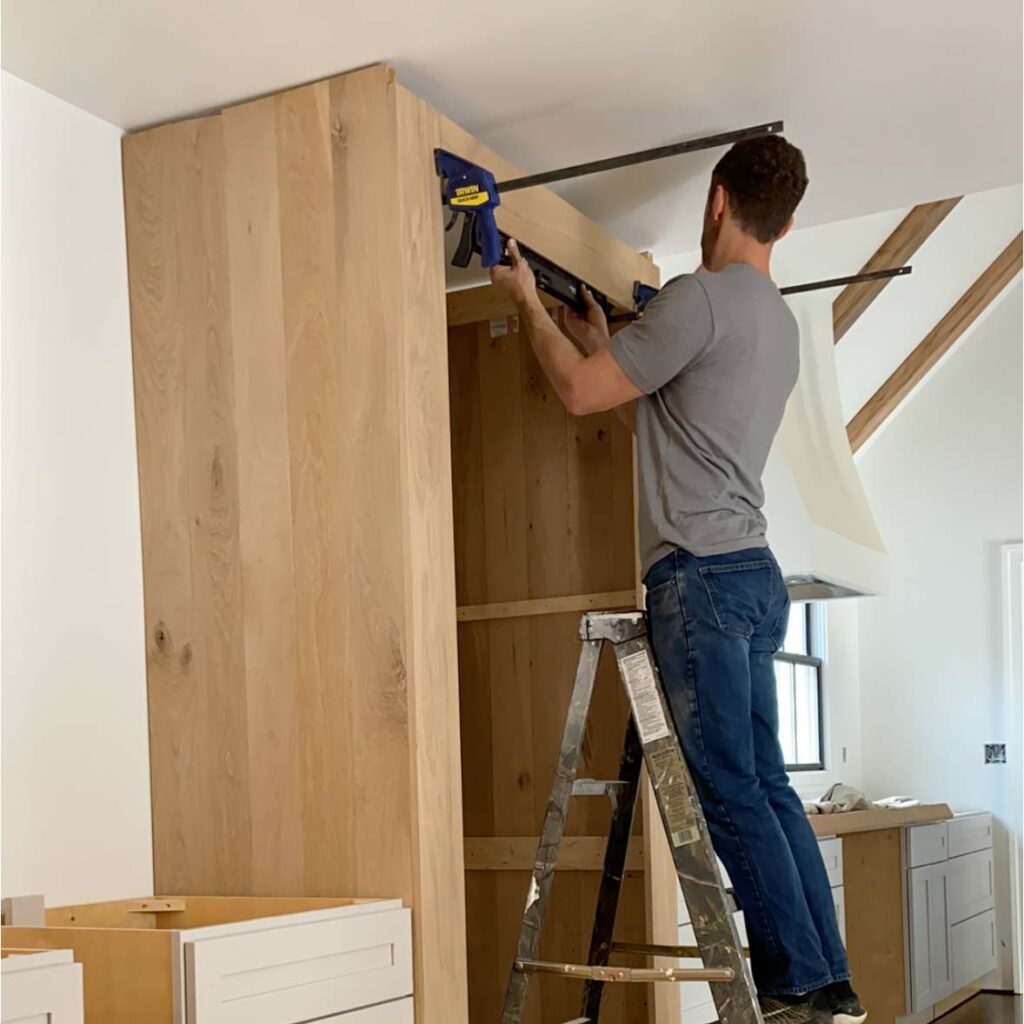
Once all the sheets of plywood are ready, you can start assembling them. Place the sides of the cabinet on the floor, inside out. Pick the braces up and fit them to the plywood sheet as per the plan.
Two of the braces will go to the top portion of the sheet. One brace can be fixed at the bottom part of the sheet for better placement of the cabinet. Place one bracket 4″ down from the bottom of the cabinet and another one 36″ away from the bottom. It is recommended to follow these steps to mark the other side of the cabinet as well to ensure smooth placement.
You now take the plywood panels and place them in the space where you want the cabinet to be installed. Use the screws to attach the brackets as required. For the best and most aligned attachment of brackets, you can make sure that they are square to the panel.
Once the boxed structure is ready, place it properly against the wall as required.
Step 6: Design the Shelf
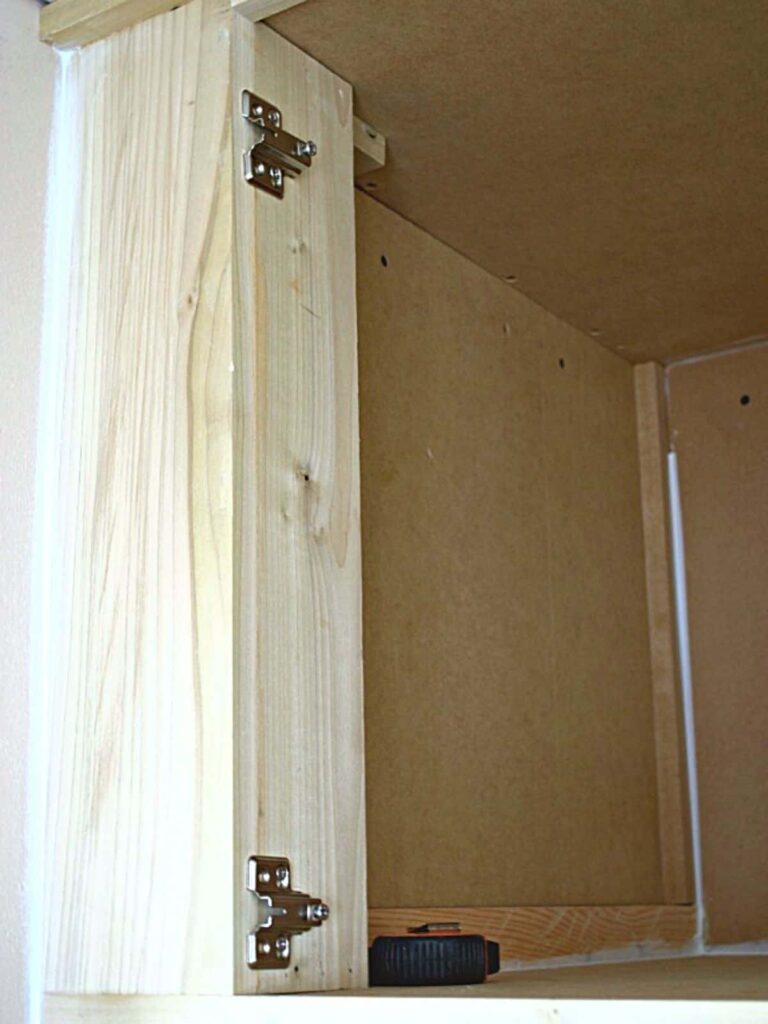
As we are going with a shelf on the cabinet design, it is now time to add brackets on the top of the box. Mark the sides of the cabinet and add brackets there to make the shelf sit tight. The 34″ braces will come in handy at this point. Attach a bracket on the top of the side panel. Make sure to position the bracket to align with the one on the back of the panel. The 1-14″ nails can be used to fix these braces properly. You can use the drill to place these nails as required. It’s suggested that you check the alignment before using the nails. To get the placement right, you can adjust the braces.
Repeat the same step again to fix the other brace on the panel. Take the sheet now and place it in position.
Step 7: Filling the Gaps
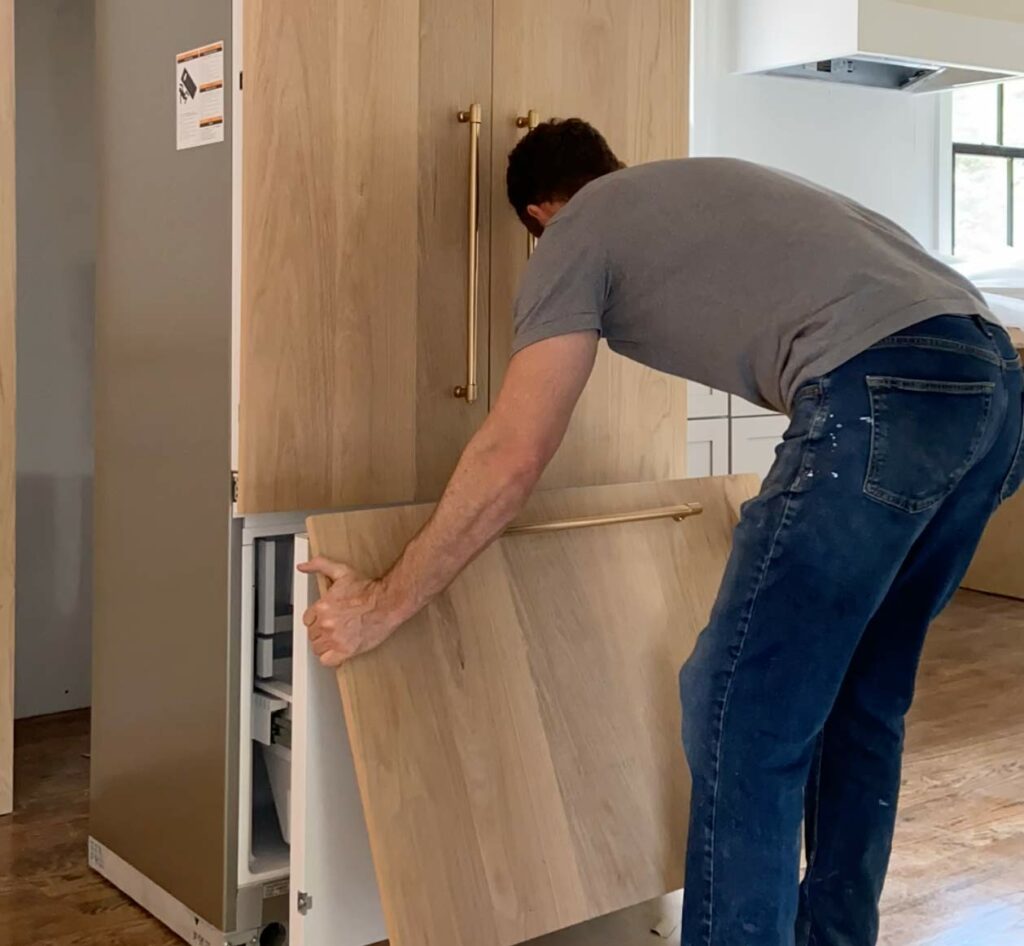
Once all the parts are in their places, you can use wood filler to fill the gaps. Make the bracket holes look clean by using wood filler. After the filler is dried, you can use the sandpaper to clean things up. If any kind of gap is noticed between the plywood sheet and the walls, the backer rod can be of great use to fill it up.
After this step, caulk and primer can be applied to seal the seams and polish the wooden parts, respectively.
Step 8: Attaching Trim Boards
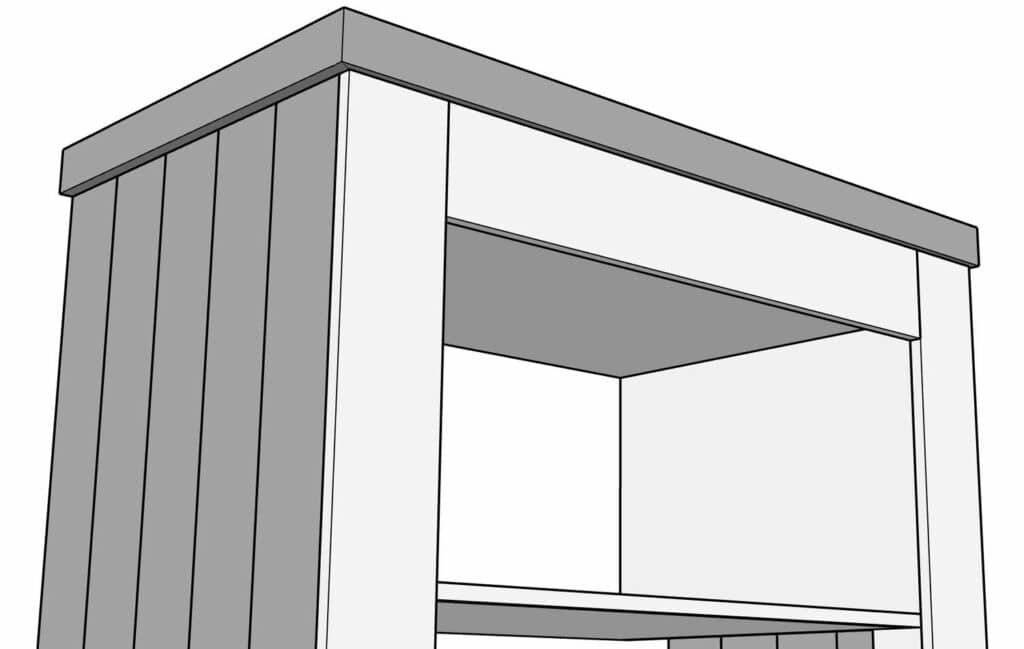
Re-check everything; everything looks good, and now it is time to use the trim boards. Please take note that airflow is very important for the smooth functioning of refrigerators. Keeping that in mind, it is suggested to cut the trim board at least to a measurement of 34″ to ensure good airflow. Attach this trim to the cabinet frame surface at the front. You can use wood glue and nails for this.
Step 9: The Final Touch
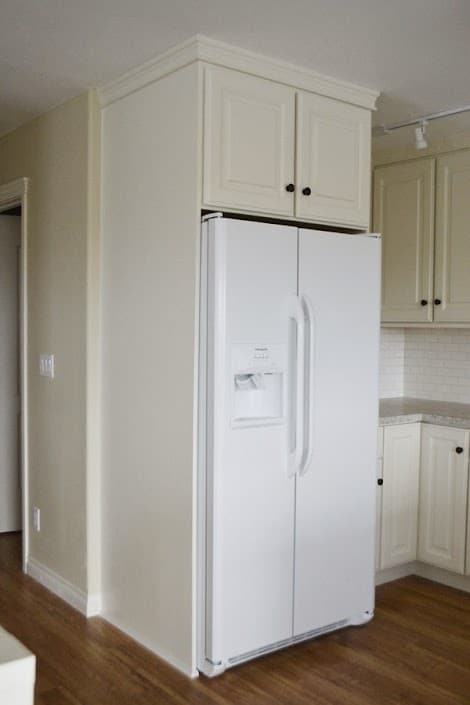
Your refrigerator cabinet is ‘almost’ finished. All you have to do now is attach the door as planned. It is recommended to paint or design the cabinet door to match the existing decor of the house. If you are already refurbishing the kitchen or home, you can paint the cabinets and shelves in the room to match the refrigerator cabinet. This can give an even look to the whole room.
Final Word
Refrigerator cabinets are not just a display item to enhance the overall look of your kitchen. They are suggested by interior designers and builders as a great way to avoid clutter. Having a good impression of your living space is very important. Refrigerator cabinets will help you place a refrigerator in an enclosed and organized space.
This will make the entire room look more compact and tidy. With proper ventilation and a befitting design, refrigerator cabinets can make a great addition to your home decor.
We hope the above guide will help you build a refrigerator cabinet using a DIY approach.
Frequently Asked Questions
Is it Safe to Place a Refrigerator Inside an Enclosed Cabinet?
It is not safe to place your refrigerator inside a poorly made, airtight cabinet. But placing your refrigerators inside well-planned, engineered, and perfectly measured cabinets is a very safe and recommended option.
What Materials Are Used to Make Refrigerator Cabinets?
One of the best and most affordable materials to make refrigerator cabinets is plywood or engineered wood. Ultimately, the material of refrigerator cabinets depends on one’s personal choice and home decor.

